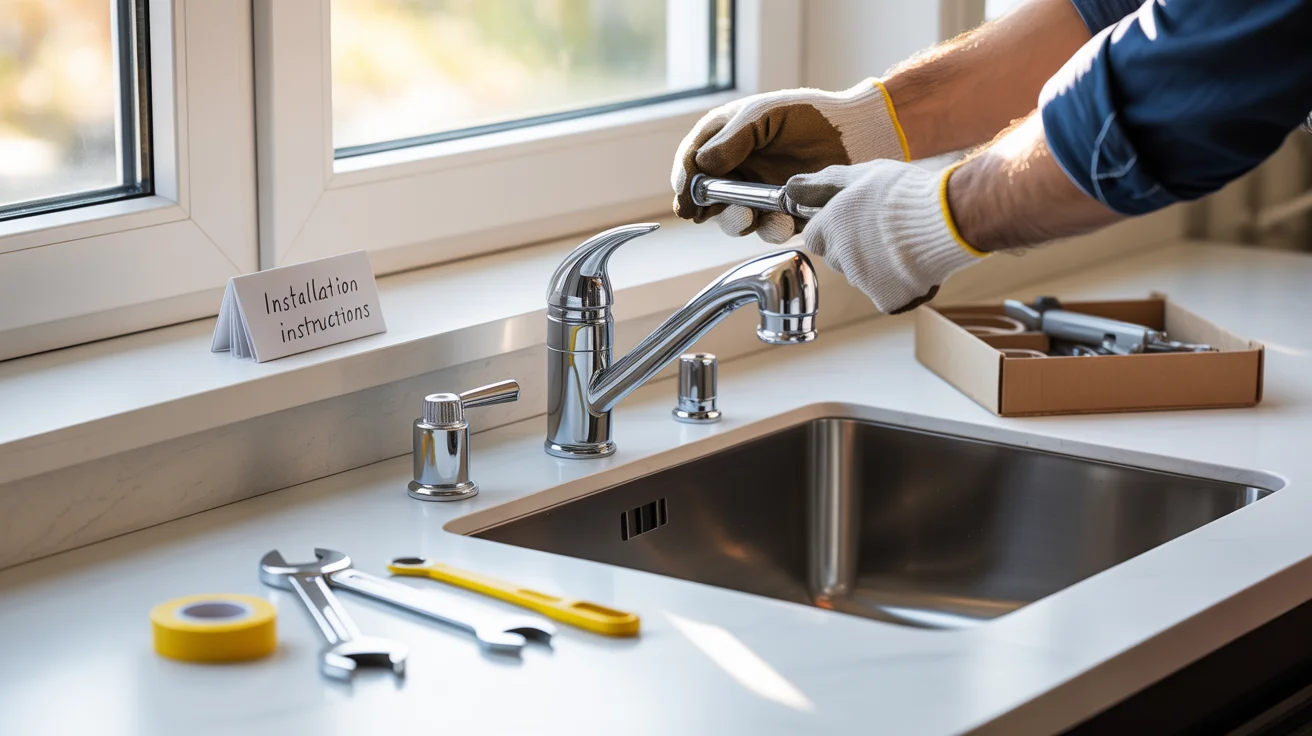
How to Install a Kitchen Faucet: Complete Step-by-Step Guide
Installing a new kitchen faucet is one of the most rewarding home improvement projects you can tackle yourself. This straightforward upgrade transforms your kitchen’s functionality and appearance while saving you hundreds of dollars in professional installation costs.
Most homeowners can complete this project in 2-4 hours using basic tools you probably already own. Whether you’re replacing a leaky old faucet or upgrading to a modern design, this guide walks you through every step with clear instructions and helpful tips.
Before You Start: What You Need to Know
Measuring Your Sink
Most sinks have one or three holes for a faucet. Count the holes in your sink and measure their spacing to ensure your new faucet will fit properly.
- Single-hole faucets: Work in sinks with 1 hole
- Three-hole faucets: Need exactly 3 holes (hot, cold, and main spout)
- Deck plates: A deck plate can cover unused openings if you switch from a three-hole to a single-hole faucet.
Time Investment
If you’re handy and experienced, the job could take about an hour. For beginners, plan for 2-4 hours to complete the installation safely and properly.
Tools and Materials You’ll Need
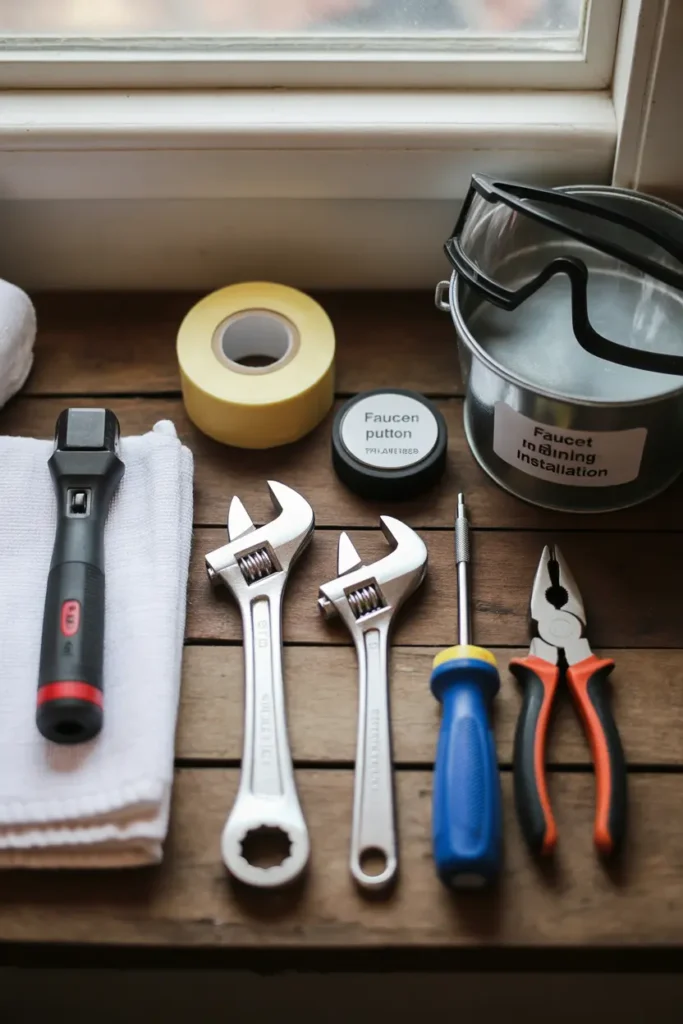
Essential Tools:
- Basin wrench (most important tool)
- Adjustable wrench
- Screwdriver set
- Pliers
- Flashlight or headlamp
- Pillow (for comfort while working under sink)
Materials Needed:
- New kitchen faucet (with all included parts)
- Plumber’s putty or silicone caulk
- Teflon tape (thread seal tape)
- New supply lines (if not included)
- Bucket and towels (for water cleanup)
Step 1: Shut Off the Water Supply
Reach in underneath the cabinet and shut off the hot and cold water supply valves by turning them clockwise. You’ll find these valves where the supply lines connect to the pipes under your sink.
Important: If you don’t have stop valves already installed, you’ll need to turn off the water to the entire house.
After shutting off the water:
- Open up the faucet handles to relieve any pressure in the lines
- Place towels under the sink to catch any remaining water
- If you have a garbage disposal, turn off power to it for safety
Step 2: Remove the Old Faucet
Disconnect Supply Lines
To remove the old faucet, you’ll first need to go under the sink and disconnect the supply lines that run from the faucet down to the hot and cold valves.
- Use your adjustable wrench to loosen the nuts connecting supply lines to shutoff valves
- Place a bucket underneath to catch water from the lines
- Disconnect both hot and cold lines completely
Remove Mounting Hardware
- Locate the mounting nuts that hold the faucet to the sink
- Use a basin wrench to loosen these nuts (they’re often in tight spaces)
- Remove any washers or gaskets once nuts are off
- Lift out the old faucet from above the sink
Pro Tip: Snap a picture of the plumbing configuration before disconnecting to use as a reference later.
Step 3: Prepare the New Faucet
Read the Instructions
Because all faucets are different, refer to the manufacturer’s installation instructions. Each brand has specific requirements and assembly steps.
Pre-Assembly Steps
- Inspect all parts to ensure nothing is missing or damaged
- Apply plumber’s putty to the base gasket if required by manufacturer
- Thread supply lines into the faucet body (if not pre-attached)
- Install any deck plates that cover extra holes in your sink
Step 4: Install the New Faucet
Position the Faucet
- Feed supply tubes through the sink hole first
- Lower the faucet body into position on the sink
- Align the faucet so it sits straight and centered
- Check that gaskets are properly positioned underneath
Secure from Below
Install washers and nuts underneath the sink. Work from under the sink to:
- Slide washers onto the supply tubes (if provided)
- Thread mounting nuts onto the faucet stems
- Tighten with basin wrench until faucet feels secure
- Check above to ensure faucet hasn’t shifted during tightening
Important: Don’t overtighten – this can crack the sink or damage the faucet.
Step 5: Connect Water Supply Lines
Attach Supply Lines
- Wrap Teflon tape around threaded connections (2-3 wraps clockwise)
- Connect hot line to hot water valve (usually on the left)
- Connect cold line to cold water valve (usually on the right)
- Hand-tighten first, then snug with wrench
Special Features
For pull-down faucets, attach the quick-connect hose to the supply pipe. Pull down on the hose and attach the weight.
Note: The weight needs clearance to hang freely underneath the sink.
Step 6: Test Your Installation
Turn Water Back On
- Slowly turn on supply valves (counterclockwise)
- Turn on faucet to check water flow
- Test both hot and cold separately
- Check spray function if your faucet has one
Leak Inspection
Carefully inspect all connections for leaks:
- Supply line connections at shutoff valves
- Faucet base where it meets the sink
- Under-sink connections at the faucet body
- Spray hose connections (if applicable)
If you find leaks: Turn off water, check connections, and retighten as needed.
Troubleshooting Common Issues
Low Water Pressure
- Check aerator for debris or packaging material
- Ensure supply valves are fully open
- Verify supply lines aren’t kinked or twisted
Leaks at Base
- Check mounting nuts – may need slight tightening
- Inspect gasket – ensure it’s properly positioned
- Add plumber’s putty if manufacturer recommends it
Wobbly Faucet
- Retighten mounting nuts from underneath
- Check that washers are in correct positions
- Ensure faucet is properly seated in sink hole
When to Call a Professional
Though installing a kitchen faucet is among the simpler of plumbing jobs, there are a few scenarios in which professional installation might be called for:
Complex Installations
- Wall-mounted faucets requiring new pipe routing
- Major plumbing modifications needed
- Electrical connections for touchless faucets
Problem Situations
- Signs of corrosion or pipe damage during removal
- Repeated plumbing problems in your kitchen
- Structural changes needed to accommodate new faucet
Warranty Concerns
Most new faucets come with manufacturer warranties. If you break or damage the item in the course of putting it in, however, you may risk voiding the warranty.
Maintenance Tips for Your New Faucet
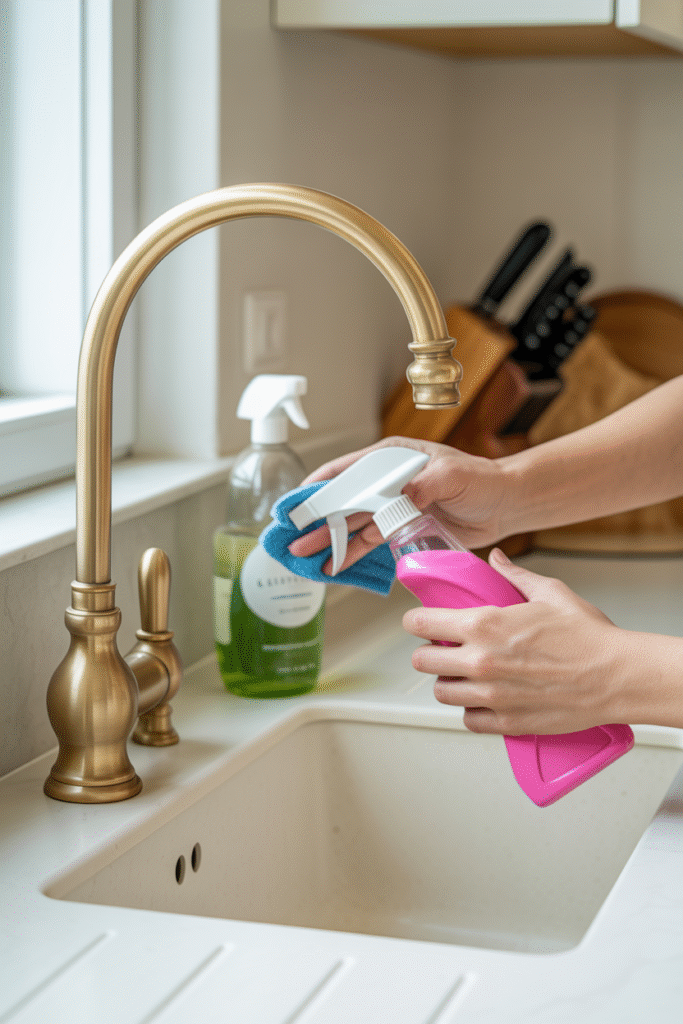
Regular Cleaning
- Use mild soap solution to prevent mineral buildup
- Avoid using abrasive cleaners that could damage the faucet’s finish
- Clean aerator monthly to maintain good water flow
Periodic Checks
- Check periodically for leaks and tighten connections if needed
- Inspect supply lines for signs of wear
- Test all functions regularly to catch issues early
Cost Savings and Benefits
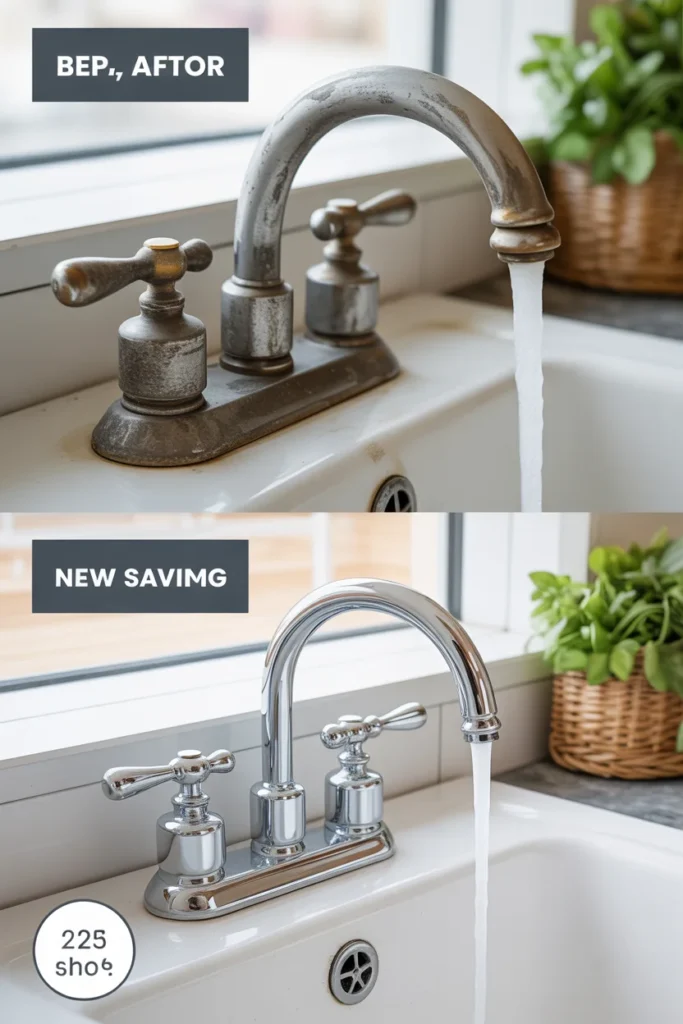
Money Saved
By not using a licensed plumber, you can save $260 to $480 in labor costs. Professional installation typically costs $150-$400, making DIY installation very worthwhile.
Improved Functionality
Modern faucets offer features that older models lack:
- Better water pressure and flow control
- Spray functions for easier cleaning
- Touchless operation (on some models)
- Water-saving technology
Conclusion
Installing a kitchen faucet yourself is an excellent way to upgrade your kitchen while developing valuable home improvement skills. With the right preparation, tools, and patience, most homeowners can successfully complete this project and enjoy the satisfaction of a job well done.
The key to success lies in careful preparation, following manufacturer instructions, and taking your time with each step. Don’t rush the process, and remember that calling a professional is always an option if you encounter unexpected complications.
Your new faucet will provide years of improved functionality and style, making this DIY project a worthwhile investment in your home’s value and your daily comfort.