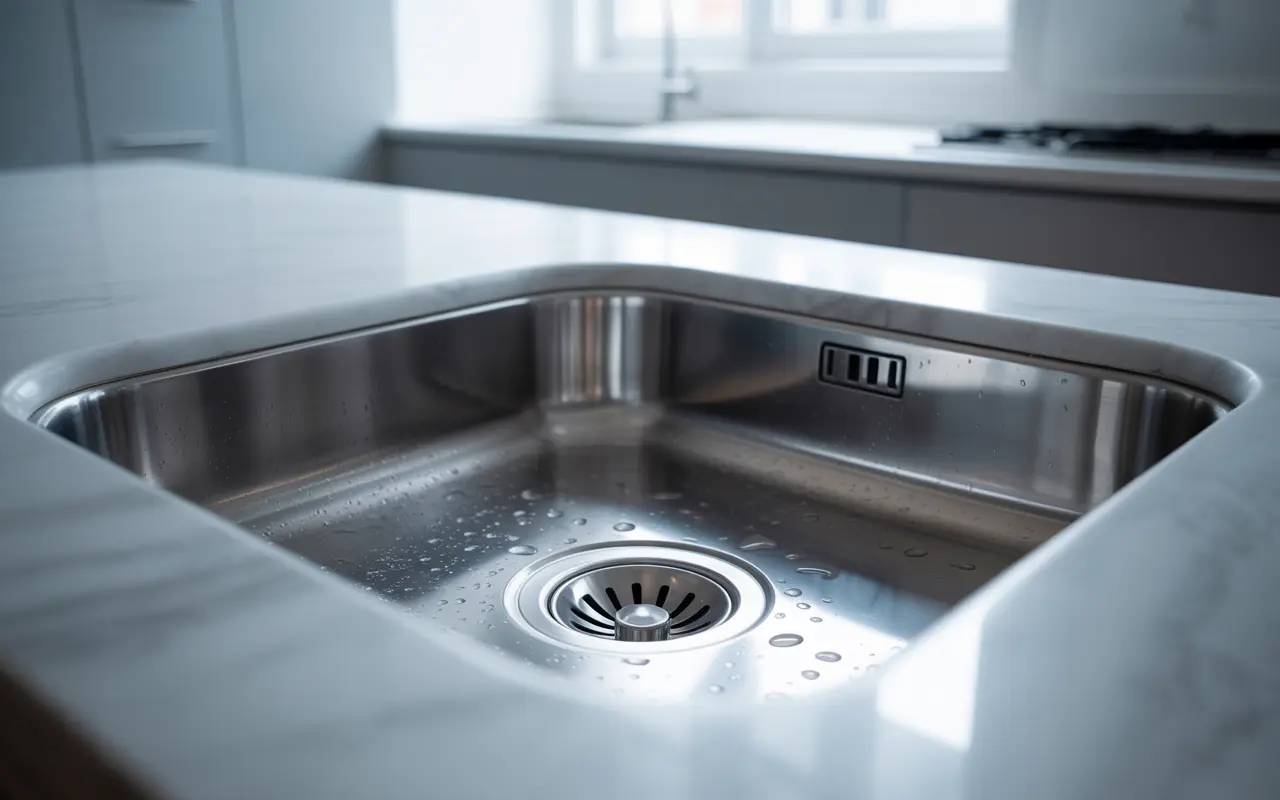
The Easiest Way to Replace a Kitchen Sink Drain
The kitchen sink is one of the busiest spots in any home. From washing dishes to rinsing veggies, it handles a lot. But over time, the sink drain can wear out, leak, clog, or just look old.
If you think replacing it requires a plumber — think again. Swapping out a kitchen sink drain is a simple DIY project you can handle with basic tools and a little guidance.
Even beginners can complete the job in under an hour. The key? Knowing your tools, understanding the parts, and following a clear, step-by-step process.
When Should You Replace Your Kitchen Sink Drain?
It’s time for a replacement if you notice:
- Persistent leaks that don’t go away after tightening
- Rust or corrosion, especially on older metal drains
- Constant clogs that resist plunging or snaking
- A drain that looks outdated or no longer matches your kitchen style
Replacing the drain boosts function, prevents damage, and gives your kitchen a fresh, clean look.
Tools and Materials You’ll Need
Before you start, gather everything to avoid interruptions.
Tools:
- Pipe Wrench or Adjustable Pliers – For tightening and loosening nuts
- Flat-Head Screwdriver – To help remove old putty or parts
- Bucket – To catch water from disconnected pipes
- Rag or Towel – For wiping spills and cleaning up
- Putty Knife (optional) – For scraping off old plumber’s putty
Materials:
- New Sink Drain Kit – Includes strainer, gasket, nut, and tailpiece
- Plumber’s Putty or Silicone Sealant – For a watertight seal
- Teflon/Plumber’s Tape (optional) – Helps seal threaded connections
Tip: Choose a stainless steel drain kit for durability and corrosion resistance.
How to Replace a Kitchen Sink Drain (Step-by-Step)
Step 1: Prep the Area
- Clear everything under the sink.
- Place a bucket or towel under the drain pipes.
- Shut off the water supply using the valves under the sink.
Step 2: Remove the Old Drain
- Loosen and remove the tailpiece using pliers.
- Unscrew the locknut beneath the sink.
- Push the strainer out from the top.
- Clean off any old putty or grime around the opening.
Step 3: Install the New Strainer
- Roll plumber’s putty into a rope and apply it around the strainer lip.
- Insert the strainer into the drain hole from the top.
- Press firmly so putty spreads evenly (excess will squeeze out).
Step 4: Secure the Bottom
- From underneath, add the rubber gasket and friction ring (if included).
- Hand-tighten the locknut, then secure it with pliers. Don’t over-tighten.
Step 5: Connect the Tailpiece
- Wrap Teflon tape on the threads (optional).
- Screw in the tailpiece and connect it to the P-trap.
- Ensure everything aligns without forcing the parts.
Step 6: Check for Leaks
- Turn the water back on.
- Fill the sink and then drain it.
- Check all connections by hand for moisture.
- If leaking, re-tighten or reseal the connection.
Step 7: Final Touches
- Wipe off excess putty from around the strainer.
- Clean up tools and dispose of the old drain.
- Congratulate yourself — you did it!
Troubleshooting Tips
Leak at the strainer base:
Reapply plumber’s putty and press the strainer down more firmly.
Misaligned pipes:
Use an adjustable or flexible pipe to bridge the gap.
Locknut spinning in place:
Have someone hold the strainer from above, or use a strainer wrench.
Water backing up:
Check for clogs with a plunger or snake. If it’s a vent issue, call a pro.
Common Drain Problems and Causes
1. Clogs & Slow Drains
- Grease buildup from cooking oils
- Food particles like pasta or coffee grounds
- Soap scum mixed with debris
- Foreign objects like bottle caps or utensils
2. Leaks
- Loose nuts or fittings
- Worn-out gaskets
- Corroded or cracked pipes
- Bad seal from poor putty application
3. Foul Odors
- Rotting food debris
- Dry P-trap (no water barrier to block sewer gas)
- Venting issues causing gas to escape into the kitchen
4. Weird Noises
- Gurgling = vent or partial clog
- Whistling = pressure or air restriction
Types of Kitchen Sink Drains
1. Basket Strainer
Most common. Has a removable basket to catch food and a stopper to hold water.
2. Grid Drain
Fixed grate; no stopper. Found in bar or prep sinks.
3. Deep Cup Drain
Holds more debris. Good for busy kitchens.
4. Duo Cup Drain
For double sinks. Each basin drains independently.
5. Disposer Flange
Connects garbage disposals to the sink. Includes a stopper for easy food disposal.
Materials & Finishes:
- Stainless Steel: Durable and rust-resistant
- Brass: Strong and often decorative
- Plastic: Budget-friendly but less durable
- Finishes: Chrome, brushed nickel, bronze — to match your faucet
Maintenance Tips to Prevent Problems
Watch What You Put Down the Drain
- No grease, oil, coffee grounds, or starch-heavy foods.
Flush with Hot Water
- Do this after dishes to melt grease before it hardens.
Weekly Clean with Baking Soda + Vinegar
- Pour both down the drain, let sit, then flush with hot water.
Use a Strainer Basket
- Catches debris before it clogs your pipes.
Maintain Your Disposal
- Use citrus peels or vinegar ice cubes to clean and freshen it.
Avoid Harsh Chemical Cleaners
- They damage pipes and harm the environment.
Replacing a kitchen sink drain might sound tough — but it’s totally doable. With this guide, you now have the knowledge and confidence to take it on yourself.
You’ll not only save money, but you’ll also gain DIY skills that can help with future home repairs. Keep up with regular maintenance, and your new drain will last for years.
So grab your tools, get under that sink, and make it happen. Your kitchen (and wallet) will thank you.
Now that you’ve taken care of the sink drain, why not give your entire kitchen a fresh look? Discover easy and budget-friendly kitchen décor ideas that elevate your space.
Modern Kitchen Luxury Ideas