DIY Wall Decor: Transform Your Home with Easy Homemade Projects
Welcome to my blog, where we dive into creative, budget-friendly ways to personalize your living space! If you’re tired of staring at blank walls or spending a fortune on store-bought art, you’re in the right place. Today, we’re exploring how to make wall decor at home using simple materials you probably already have or can grab cheaply. These projects are perfect for beginners, require minimal tools, and can be customized to fit any style—from minimalist to bohemian. We’ll cover five fun ideas, complete with step-by-step instructions, tips, and AI prompts for generating illustrative images if you want to visualize before starting. Let’s turn those walls into a canvas for your creativity!
Why Make Your Own Wall Decor?
Before we jump in, let’s talk about the perks. Homemade wall decor isn’t just affordable; it’s therapeutic and unique. According to interior design trends, personalized spaces boost mood and make homes feel more inviting. Plus, DIY projects reduce waste by upcycling items like old frames or scrap paper. If you love creative themes, you’ll also enjoy our guide on coquette pink and red wall decor ideas, which shows how to blend charm and elegance in your space. You’ll need basic supplies like glue, scissors, paint, and string—most under $20. Ready? Let’s get crafting!
Idea 1: Photo Gallery Wall
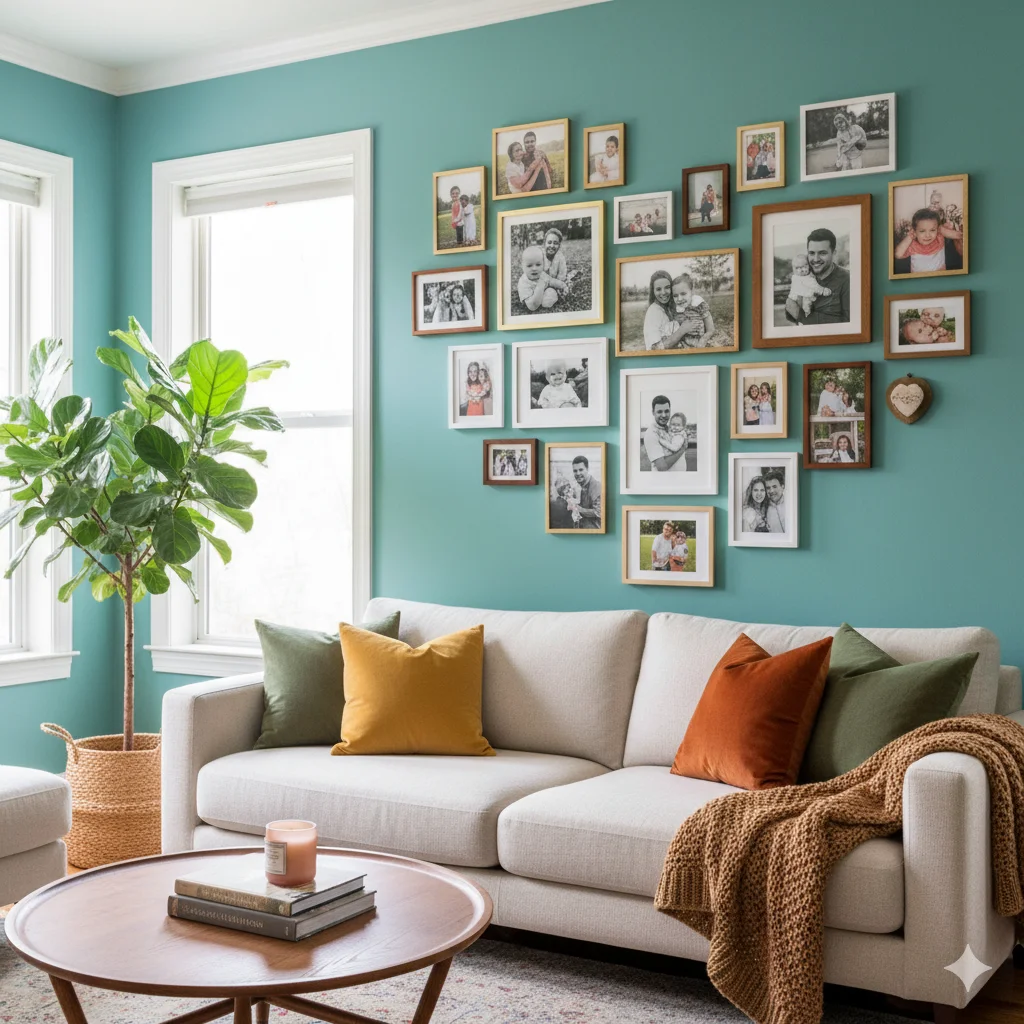
A photo gallery wall is a timeless way to display memories. It’s versatile and can fill large spaces without overwhelming the room.
Materials Needed:
- Printed photos (family pics, travel snaps, or even free stock images)
- Frames (mismatched for eclectic vibe or uniform for modern)
- Command strips or nails for hanging
- Measuring tape and level
Step-by-Step Guide:
- Choose a wall: Pick a focal point like above a sofa or in a hallway.
- Plan the layout: Lay frames on the floor to arrange shapes (grid, heart, or random cluster). Measure and mark the wall lightly with pencil.
- Prep photos: Resize and print at home or a local shop. Mat them if frames are larger for a pro look.
- Hang securely: Use command strips for damage-free walls. Start from the center and work outward, ensuring everything’s level.
- Add flair: Mix in quotes, mirrors, or small shelves for dimension.
This project takes about 2-3 hours and costs $10-50. Pro tip: Use black-and-white photos for a chic, timeless feel.
Idea 2: Abstract Painted Canvases
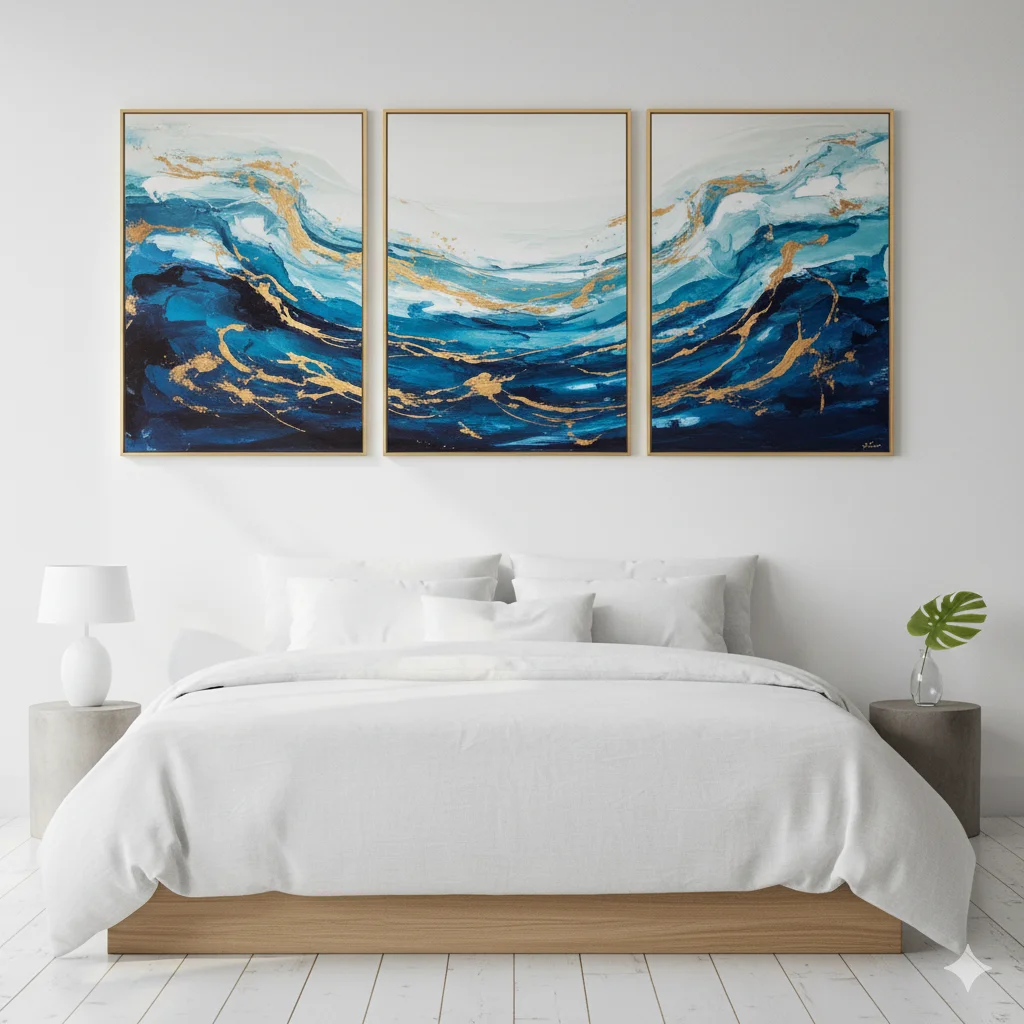
Unleash your inner artist with abstract paintings. No painting skills? No problem—it’s all about colors and textures!
Materials Needed:
- Blank canvases (from dollar stores or online)
- Acrylic paints in your chosen palette
- Brushes, sponges, or even old credit cards for texture
- Painter’s tape for clean edges
- Drop cloth to protect surfaces
Step-by-Step Guide:
- Set up your space: Cover your work area and wear old clothes.
- Prime the canvas: Apply a base coat of white or neutral paint; let dry for 30 minutes.
- Layer colors: Start with broad strokes or drips. Experiment with blending—wet-on-wet for soft edges or dry brushing for texture.
- Add details: Use tape for geometric patterns, or splatter paint for a Pollock-inspired effect. Let layers dry between steps.
- Seal and hang: Once dry (overnight), apply a varnish if desired. Hang with hooks or lean on shelves.
Total time: 1-2 days (including drying). Cost: $5-20. Variations: Try metallic paints for glamour or nature-inspired hues for calm.wooden string art piece spelling ‘LOVE’ in red and pink threadwooden string art piece spelling ‘LOVE’ in red and pink thread
Idea 3: String Art Masterpieces

String art combines geometry and whimsy, creating eye-catching pieces with nails and thread.
Materials Needed:
- Wooden board (plywood or cork)
- Nails (small hammer-friendly ones)
- Embroidery floss or yarn in colors
- Printed template (heart, state outline, or word like “Home”)
- Hammer and pliers
Step-by-Step Guide:
- Prep the board: Sand if rough, paint a base color, and let dry.
- Attach template: Tape your design to the board.
- Hammer nails: Space them 1/2 inch apart along the outline. Remove template once done.
- Weave string: Tie one end to a nail, then wrap around others randomly or in patterns. Switch colors for depth.
- Finish: Knot the end securely and trim excess. Hang with sawtooth hooks.
This takes 1-2 hours and costs $10-25. Safety note: Wear eye protection while hammering.
Idea 4: Macrame Wall Hangings
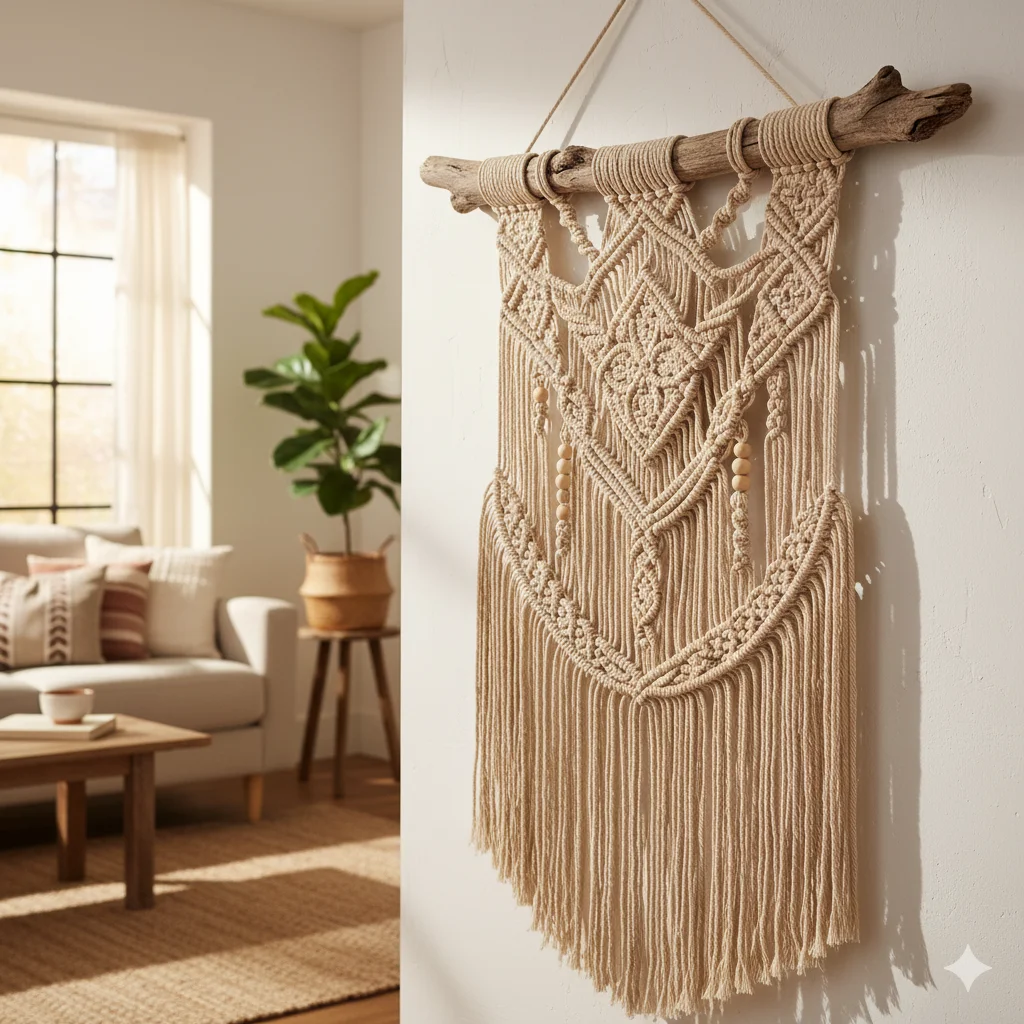
For a boho touch, macrame is knot-tying magic that looks intricate but is beginner-friendly.
Materials Needed:
- Cotton rope or macrame cord (natural or dyed)
- Wooden dowel or branch for hanging
- Scissors
- Measuring tape
Step-by-Step Guide:
- Cut cords: Decide on size (e.g., 3ft wide). Cut 8-12 strands twice the desired length, plus extra for knots.
- Attach to dowel: Fold each cord in half, loop over dowel, and pull ends through for a lark’s head knot.
- Knot patterns: Learn basics like square knots or half-hitches. Alternate for texture—create diamonds or fringes.
- Trim and shape: Even out the bottom, comb fringes if desired.
- Hang: Use hooks or nails. Add beads or feathers for personalization.
Time: 2-4 hours. Cost: $15-30. Tutorials online can help with advanced knots.
Idea 5: Upcycled Paper Crafts
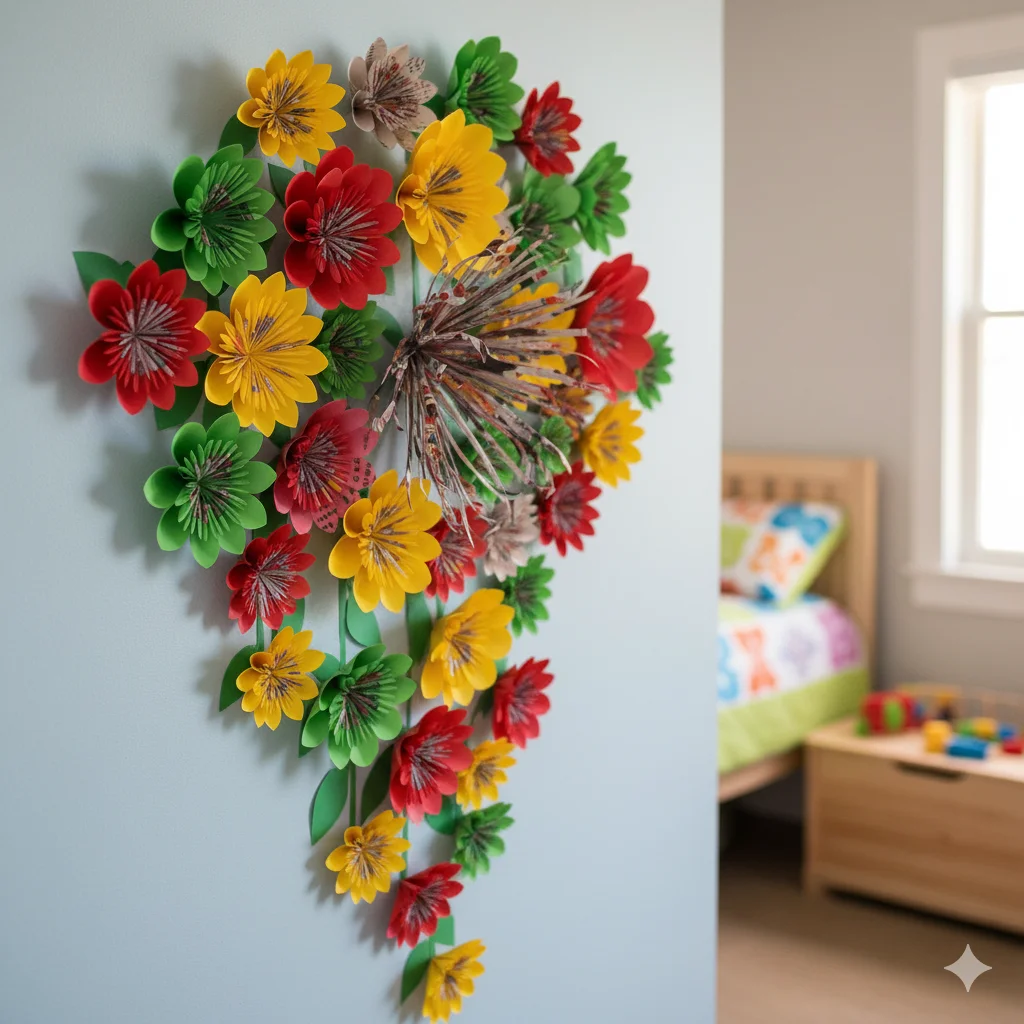
Turn recyclables into art with paper decor—think 3D flowers or geometric shapes.
Materials Needed:
- Old magazines, books, or colored paper
- Glue gun or tape
- Cardboard for backing
- Scissors or craft knife
- Optional: Paint or markers
Step-by-Step Guide:
- Choose a theme: Flowers, butterflies, or abstract shapes.
- Cut shapes: For flowers, cut spirals from paper; for geometrics, fold and cut hexagons.
- Assemble: Roll spirals into roses and glue to cardboard. Layer for depth.
- Add color: Paint edges or use patterned paper for variety.
- Mount: Frame or hang directly with tape. Cluster multiples for impact.
Quick project: 30-60 minutes. Cost: Nearly free! Eco-friendly bonus: Reduces paper waste.
Final Tips for Success
Mix and match these ideas for a gallery wall effect. Consider your room’s lighting—darker decor pops on light walls. Always measure twice to avoid crooked hangs. If you’re renting, opt for removable adhesives. Experiment, have fun, and share your creations online!
There you have it—simple ways to make wall decor at home that reflect your personality. These projects not only save money but also add warmth to your space.