Grow Garlic in Containers: Easy Step-by-Step Guide
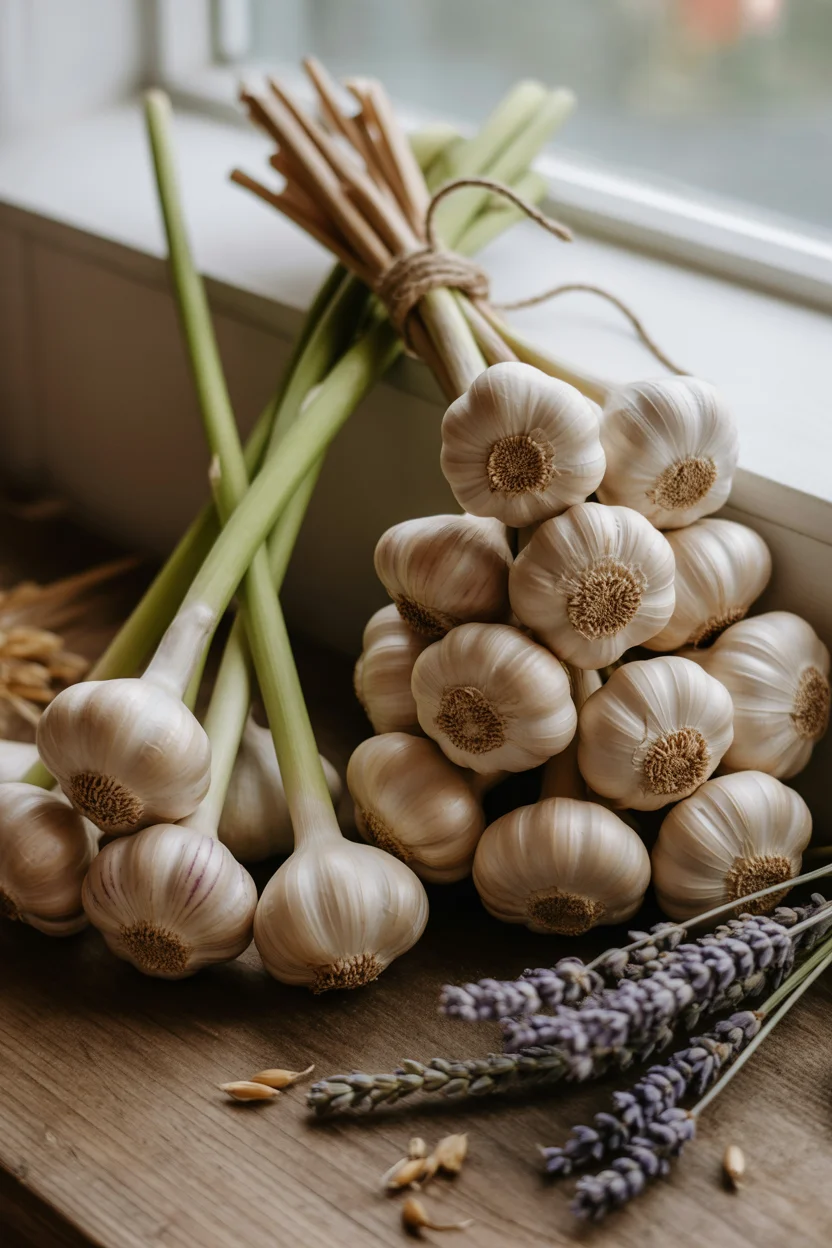
Garlic is one of those magical ingredients that makes every dish better. From pasta sauces to stir-fries, having fresh, homegrown garlic at your fingertips is both rewarding and delicious.
But here’s the good news: you don’t need a big backyard to grow garlic. With just a few containers, some soil, and a little patience, you can grow a healthy supply of garlic right on your balcony, patio, or windowsill.
In this guide, you’ll learn how to grow garlic in containers step by step, along with helpful tips and visuals you can use for inspiration.
Also Read:
Gazebo Gargen Guide
Why Grow Garlic in Containers?
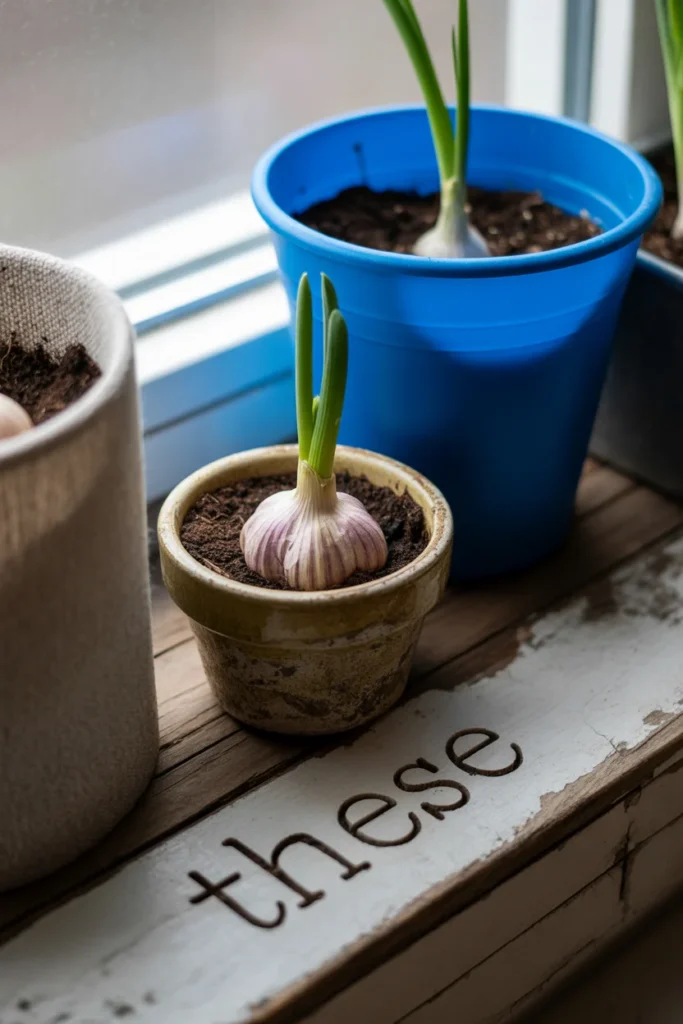
Growing garlic in pots or containers has many advantages:
- Perfect for small spaces (balconies, patios, or apartments).
- Easy to control soil quality and drainage.
- Reduces the risk of pests and diseases from garden soil.
Choosing the Right Garlic Variety
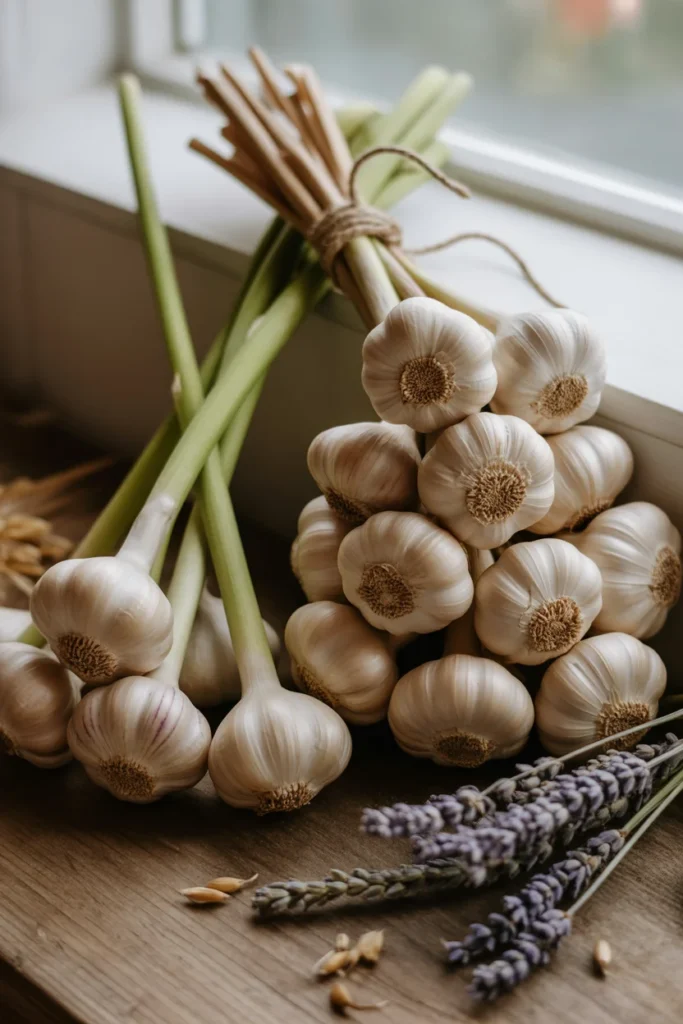
Not all garlic is the same. There are two main types:
- Hardneck garlic – Produces a strong flavor and grows best in cooler climates.
- Softneck garlic – Stores longer and thrives in warmer regions.
Tips:
- Ask local nurseries which variety grows best in your area.
- If you’re a beginner, softneck garlic is often easier for container growing.
Picking the Perfect Container
Garlic needs room for roots to spread. The right container makes all the difference.
Step-by-step tips:
- Choose a pot at least 10–12 inches deep.
- Width depends on how much garlic you want to grow—larger pots mean more cloves.
- Ensure the pot has drainage holes to prevent soggy roots.
Extra tip: Terracotta pots are breathable and help with drainage, while fabric grow bags are great for root health.
Visual idea for Pinterest:
- A close-up of garlic planted in different pots (ceramic, plastic, fabric). Caption: “Yes! Garlic grows in containers like these.”
Preparing the Soil Mix
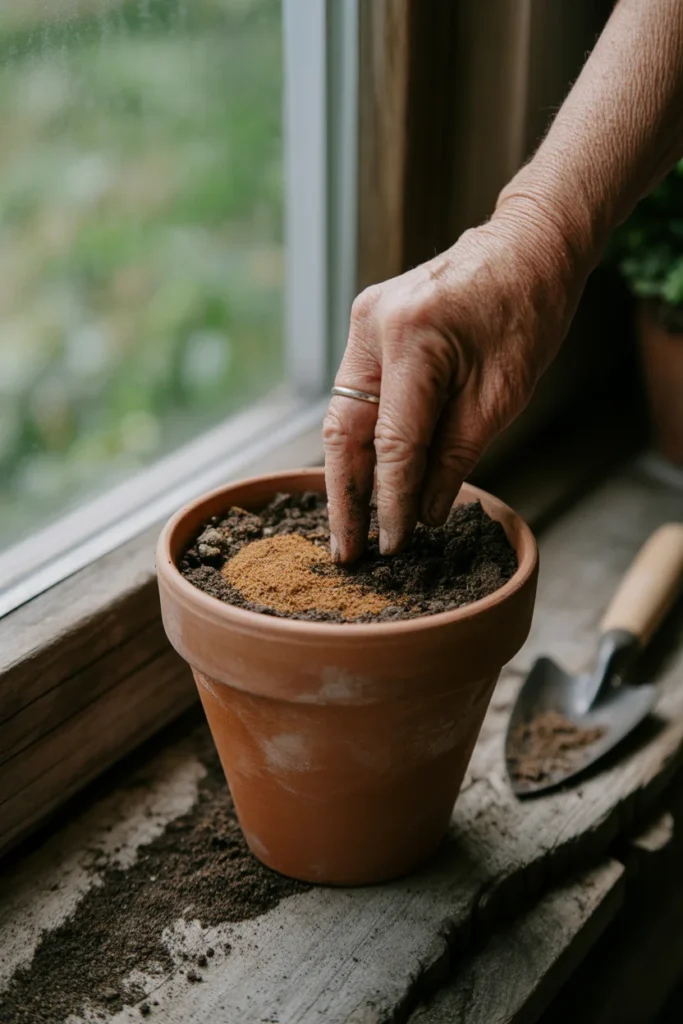
Garlic thrives in loose, well-draining soil.
Step-by-step tips:
- Use a mix of potting soil + compost + sand or perlite for better drainage.
- Aim for soil that is rich but not too heavy.
- Add slow-release organic fertilizer to give your garlic a nutrient boost.
Actionable tip: Test the soil with your hand—if it clumps together and doesn’t crumble, it’s too heavy. Add more sand or perlite.
Planting Garlic Cloves
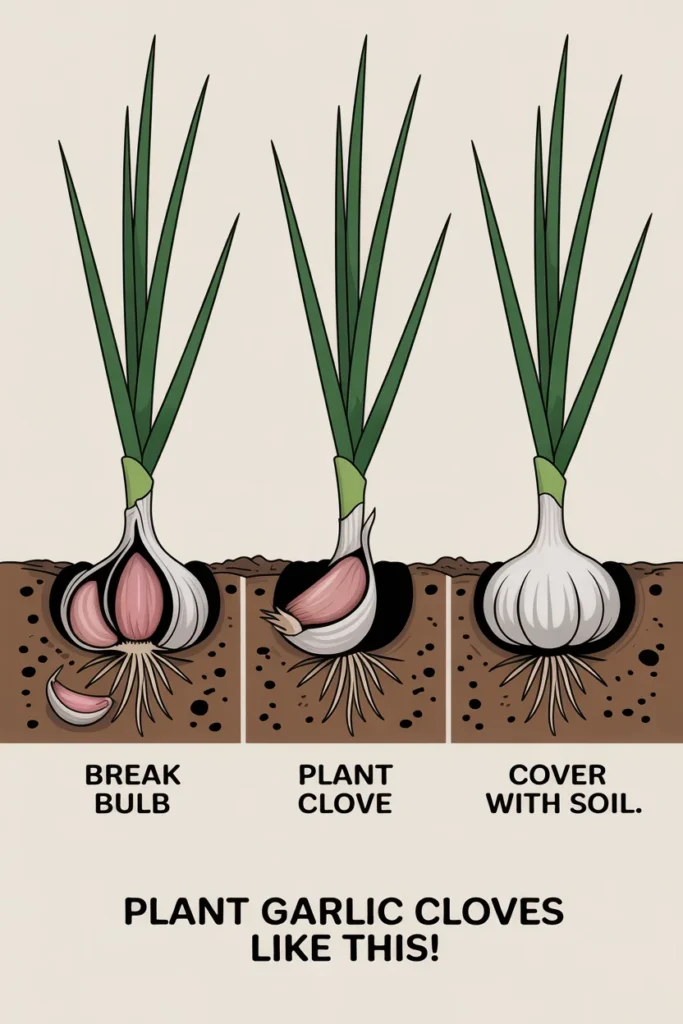
This is the fun part—planting your garlic!
Step-by-step instructions:
- Separate a garlic bulb into individual cloves.
- Plant each clove pointy side up about 2 inches deep.
- Space cloves 4–6 inches apart if you’re using a large container.
Extra tips:
- Don’t peel the papery skin—it protects the clove.
- Choose the biggest, healthiest cloves for the best harvest.
Watering and Sunlight Needs
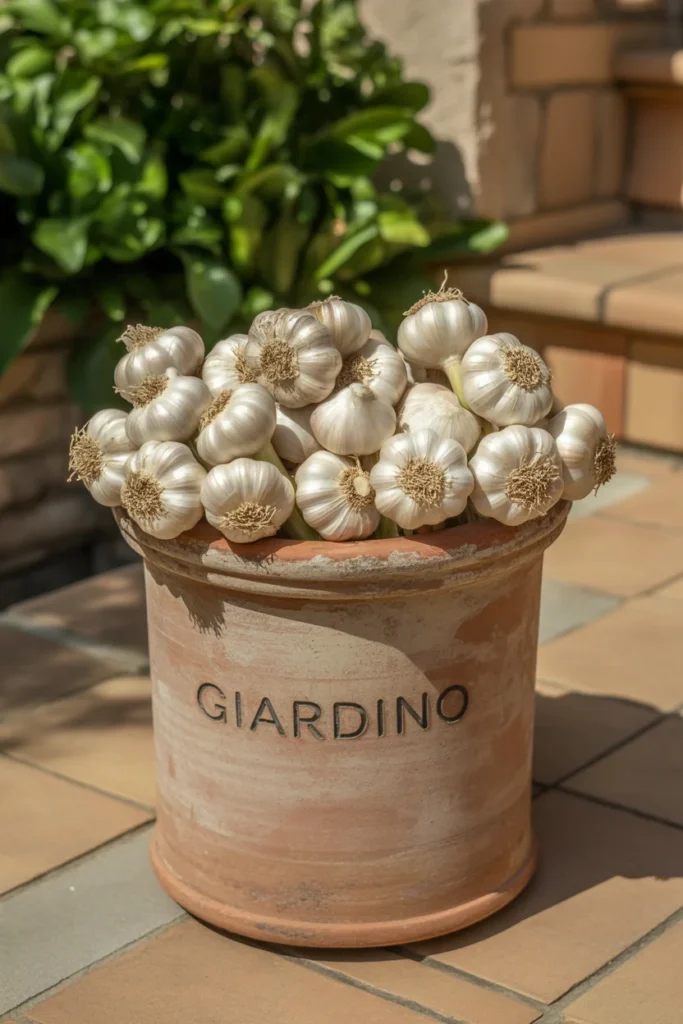
Garlic is low-maintenance, but it does need consistent care.
Tips for success:
- Water whenever the top 1–2 inches of soil feels dry. Avoid overwatering.
- Garlic loves sunlight—place your pot in a spot with 6–8 hours of sun daily.
- Rotate containers occasionally to make sure all sides get equal light.
Actionable tip: Stick your finger into the soil—if it’s dry up to your first knuckle, it’s time to water.
Fertilizing Garlic in Containers
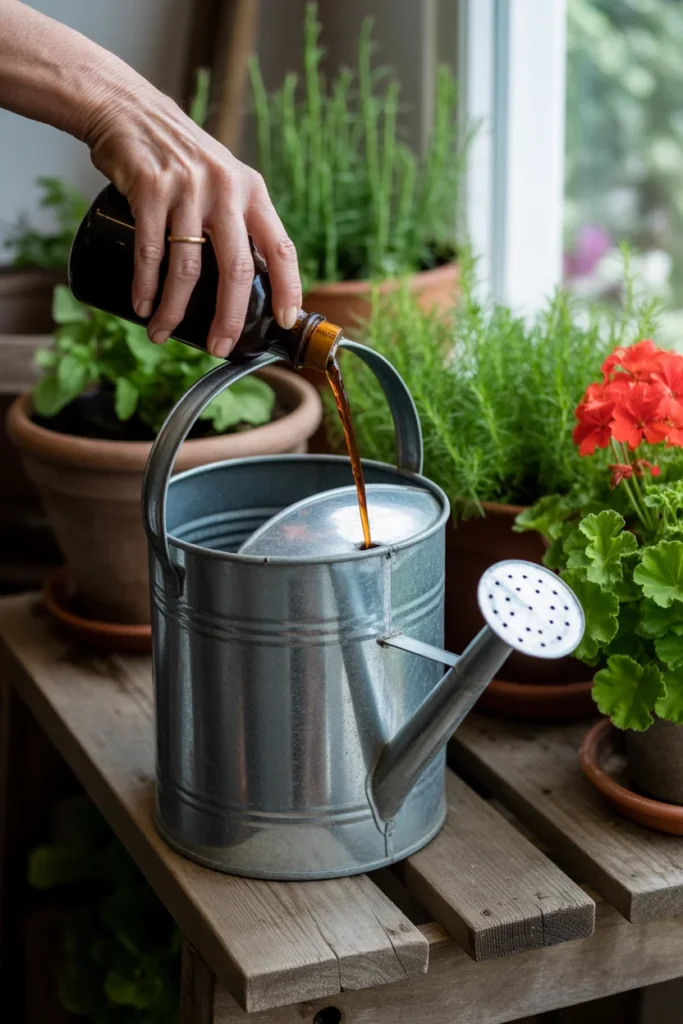
Garlic needs nutrients to grow into big, flavorful bulbs.
Fertilizing tips:
- Use an organic, nitrogen-rich fertilizer (like fish emulsion) every 3–4 weeks.
- Stop fertilizing once you see the garlic tops start to yellow—this means the bulbs are maturing.
Actionable tip: Pair fertilizing with watering for better absorption.
Common Problems & How to Fix Them
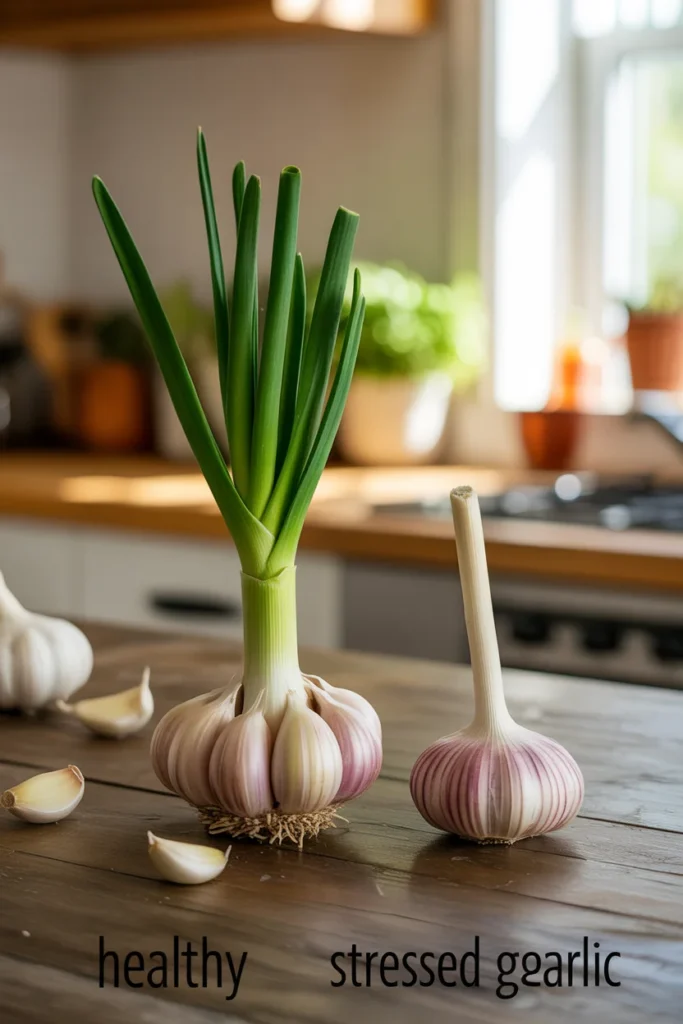
Like all plants, garlic can face issues.
Problem 1: Yellow leaves early on
- Cause: Overwatering or nutrient deficiency.
- Fix: Reduce watering and add balanced fertilizer.
Problem 2: Small bulbs
- Cause: Crowding cloves or poor sunlight.
- Fix: Give plants more space and ensure full sun..
Harvesting Garlic
Harvest time is exciting! Garlic is usually ready in 8–10 months after planting.
Step-by-step instructions:
- Wait until the lower leaves turn brown, but the top leaves stay green.
- Loosen soil gently and pull the bulbs out by the base of the stem.
- Cure garlic by drying it in a well-ventilated space for 2–3 weeks.
Extra tip: Don’t wash garlic bulbs after harvesting—brush off dirt instead to prevent mold.
Storing Garlic
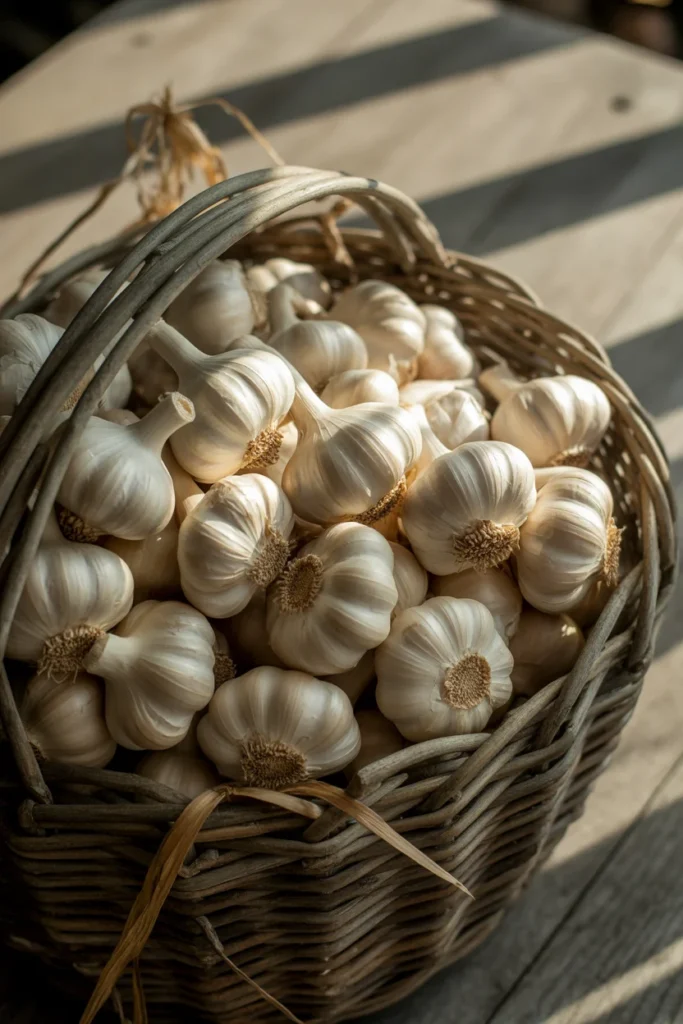
To make your harvest last, proper storage is key.
Tips:
- Store cured garlic in a cool, dry place.
- Keep in mesh bags or baskets for airflow.
- Avoid refrigerating—it can trigger sprouting.
Final Thoughts
Growing garlic in containers is easier than most people think. With the right soil, a sunny spot, and a little patience, you’ll be enjoying fresh, homegrown garlic in no time.
So, grab a pot, plant a few cloves, and watch the magic happen!
FAQS
1. Can you grow garlic in containers at home?
Yes! Garlic grows very well in containers if you use deep pots (at least 8 inches) with good drainage and nutrient-rich soil.
2. What size container is best for growing garlic?
A container that’s 8–10 inches deep and at least 12 inches wide works best. Each clove should have 4–6 inches of space for proper bulb growth.
3. When is the best time to plant garlic in containers?
Plant garlic in fall (October–November) for a summer harvest, or in early spring if you live in a mild climate.
4. How often should I water garlic in pots?
Water your garlic once or twice a week, keeping the soil moist but not soggy. Overwatering can cause the bulbs to rot.
5. How long does garlic take to grow in containers?
Garlic usually takes 7–9 months to mature. Once the leaves start turning yellow and dry, your garlic bulbs are ready to harvest.