5 Steps to Make a Vision Board That Actually Works | Vision Board Guide
Creating a vision board transforms your dreams from abstract thoughts into tangible visual reminders. This simple yet powerful tool helps you focus on what truly matters in your life. Whether you want to advance your career, improve your health, or explore new destinations, a vision board keeps your goals front and center. You don’t need artistic skills or expensive materials to get started. Just gather some basic supplies and set aside an hour or two for this meaningful project.
Step 1: Clarify Your Vision
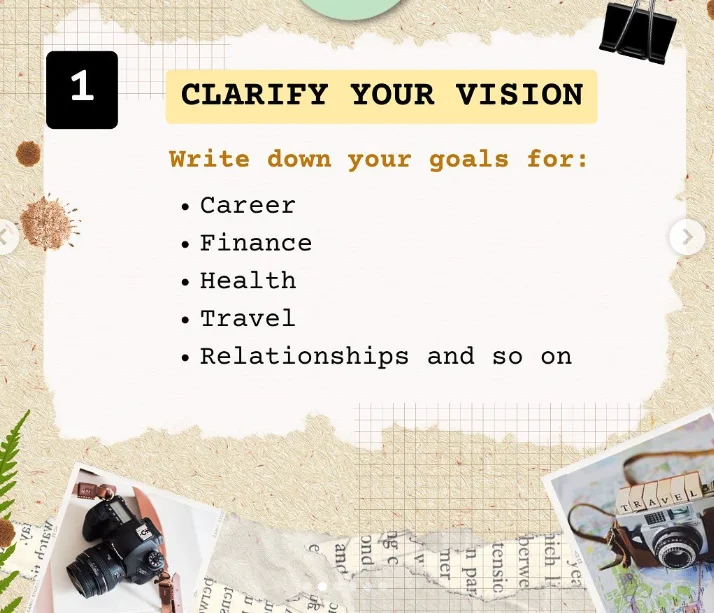
Start by getting clear on what you truly want from life. This foundational step asks you to write down your goals across major life areas. Career ambitions, financial targets, health objectives, travel dreams, and relationship aspirations all deserve space on your list. Taking time to articulate these desires helps you understand what matters most. You cannot create a meaningful vision board without first knowing your destination. Grab a notebook or open a document and begin listing specific goals for each category. Be honest with yourself about what excites you. Some goals might feel big and scary, while others seem simple and achievable. Both types matter equally. This exercise transforms vague wishes into concrete intentions. Once you see your goals written out, you gain clarity about which images and words to search for later. Think of this step as drawing your roadmap before starting the journey.
Step 2: Gather Your Materials
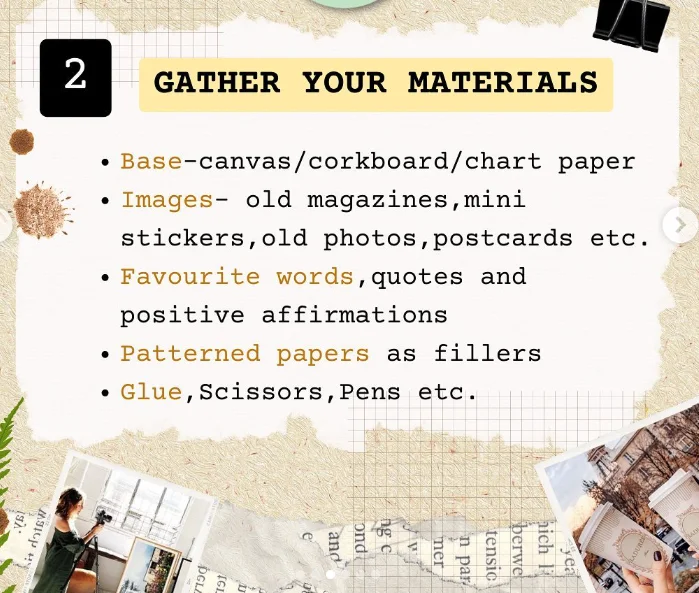
Now comes the fun part: collecting everything you need to bring your vision board to life. Start with a solid base like canvas, corkboard, or sturdy chart paper. These provide the foundation for your creative work. Next, hunt for images that speak to your soul. Old magazines offer a treasure trove of pictures, or you might prefer mini stickers, personal photos, and vintage postcards. Each image should resonate with the goals you defined earlier. Don’t forget your favorite words, inspiring quotes, and positive affirmations that lift your spirits. Patterned papers work beautifully as fillers to add color and texture between images. You’ll also need basic supplies: glue, scissors, and pens for writing or drawing. Gathering these materials before you begin keeps your creative flow uninterrupted. Spread everything out on a table where you can see your options. This preparation phase builds excitement and helps you visualize the finished product.
Step 3: Pick Items That Represent Your Vision
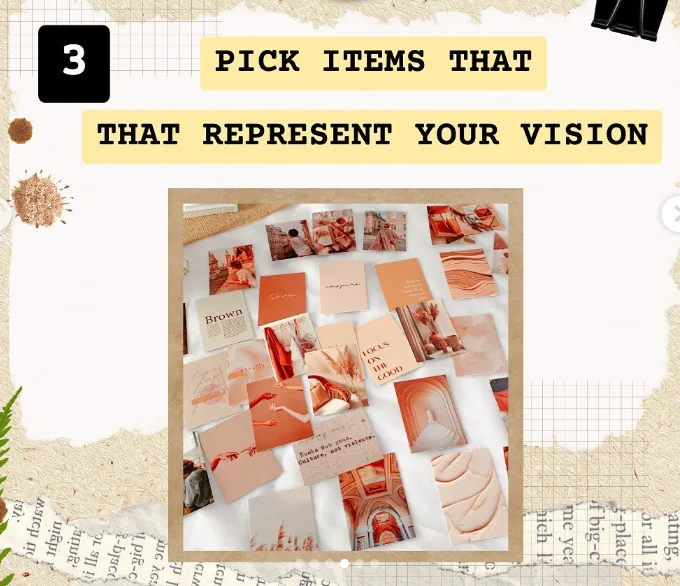
Choosing the right elements brings your vision board from concept to reality. Look through your collected materials and select images that genuinely excite you when you see them. A picture of a serene beach might represent your travel goals, while a cozy home image could symbolize stability. Words and phrases matter just as much as visuals. Pick affirmations that make you feel empowered and motivated. Color psychology plays a role here too. Warm tones like coral and peach create feelings of creativity and optimism, as shown in this harmonious collection. Each item you choose should connect directly to the goals you wrote down in step one. Trust your gut when something resonates with you. Skip anything that feels forced or doesn’t spark joy. Your vision board works best when every element genuinely represents what you want to manifest. Lay out your selections before gluing to see how they work together visually and emotionally.
Step 4: Arrange Your Materials

This step transforms your pile of images and words into a cohesive visual story. Play with different layouts before committing anything permanently to your board. Move pieces around freely until something feels right. Some people prefer organized grids, while others love organic, overlapping designs. There’s no wrong way to arrange your vision board. Step back occasionally to view your work from a distance. This perspective helps you see if certain areas need more balance or if colors clash. Larger images often work well as focal points, with smaller items filling gaps around them. Leave some breathing room between elements so your board doesn’t feel cluttered. Try grouping related goals together, or mix everything up for variety. This playful experimentation is where your personality shines through. Take a photo of arrangements you like so you can compare options later. Once you find a layout that makes your heart sing, you’re ready for the final step of gluing everything down.
Step 5: Place It Where You’ll See It Often
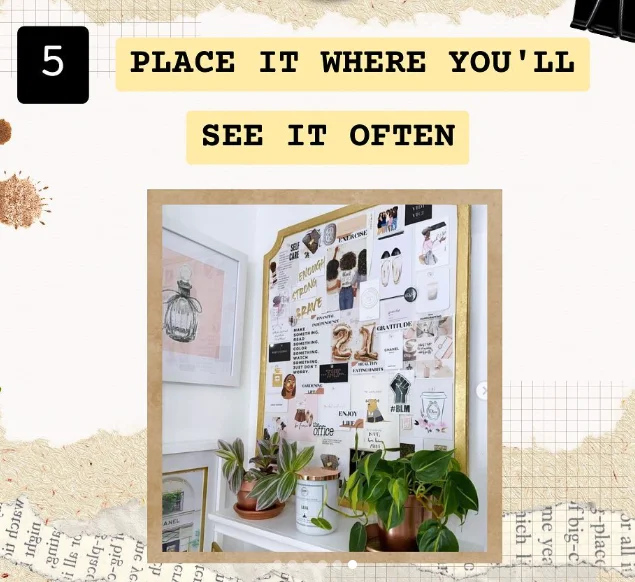
Your vision board only works if you actually look at it regularly. Choose a location in your home where you spend significant time each day. Many people hang their boards near their desk, above their bed, or in their closet where they get dressed each morning. The key is visibility and frequency. Seeing your goals daily keeps them fresh in your mind and reinforces your commitment to achieving them. This beautiful setup shows a vision board displayed prominently on a home office wall, surrounded by plants and other inspiring decor. Your subconscious mind absorbs these images and words even during quick glances. Some folks prefer their bedroom for private reflection, while others like communal spaces to share their dreams with family. Avoid tucking your board away in a drawer or behind a door. Out of sight truly means out of mind. Consider lighting too; good natural or artificial light makes your board easier to see and more inviting to view throughout your day.