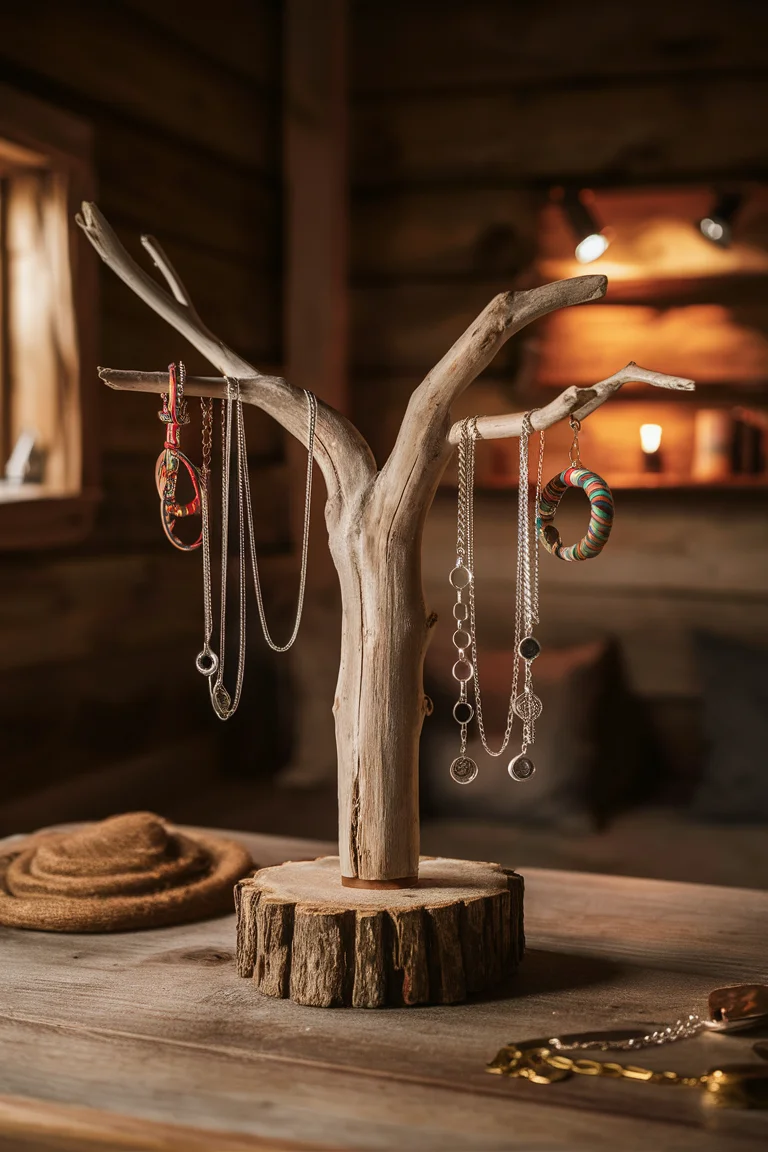
17+ Clever DIY Jewelry Storage Ideas to Keep Your Collection Tangle-Free
Are you tired of tangled necklaces, misplaced earrings, and cluttered drawers full of your favorite bling? Organizing jewelry doesn’t have to be expensive or complicated. With these 15+ clever DIY jewelry storage ideas, you can create stylish, functional organizers using everyday items or affordable materials. Whether you have a small apartment or a spacious vanity, these projects are budget-friendly, easy to make, and perfect for displaying your accessories while keeping them accessible. From upcycled household items to creative wall displays, get ready to transform your jewelry chaos into organized elegance.
These ideas are inspired by popular DIY trends and can be customized to match your home decor. Plus, for each one, I’ve included a relevant AI image generation prompt to help you visualize or create custom visuals for your own blog, social media, or inspiration board. If you’re looking for more inspiration, check out this guide on creative beaded bracelet ideas. Let’s dive in!
1. Pegboard Jewelry Wall Organizer
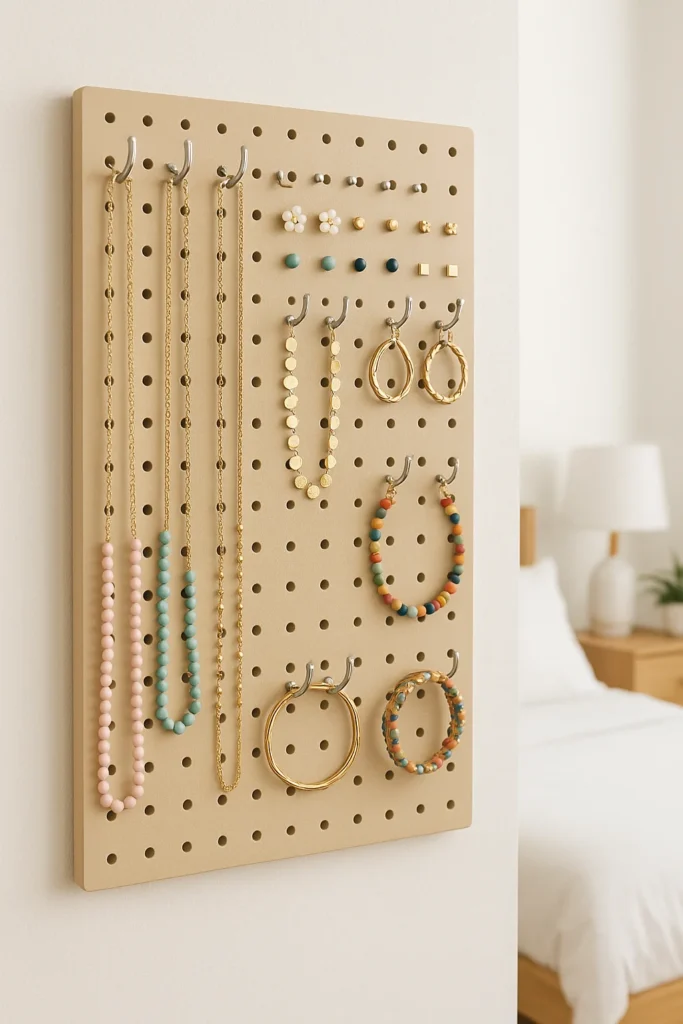
Turn a simple pegboard into a versatile wall-mounted display for all your jewelry. Paint it to match your room and add hooks for necklaces, bracelets, and earrings.
Materials Needed: Pegboard, spray paint, pegboard hooks, screws or wall anchors.
- Cut the pegboard to your desired size if needed.
- Paint it and let dry.
- Mount on the wall and insert hooks in various spots.
- Hang your jewelry for easy access.
2. Hidden Mirror Jewelry Cabinet
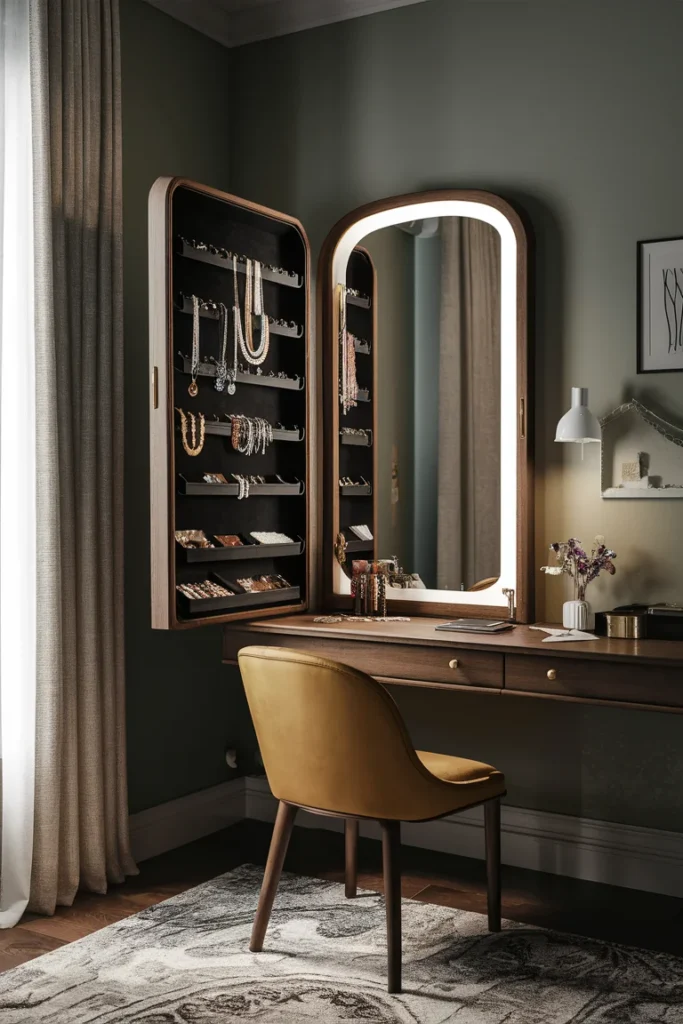
Build or repurpose a mirror with hidden storage behind it to keep your jewelry out of sight but easily reachable.
Materials Needed: Full-length mirror, wooden frame, hinges, hooks, and shelves.
Simple Steps:
- Attach hinges to the mirror and frame.
- Add hooks and small shelves inside the frame.
- Mount on the wall like a cabinet door.
- Store jewelry inside and close the mirror.
3. Push Pin Wall Display
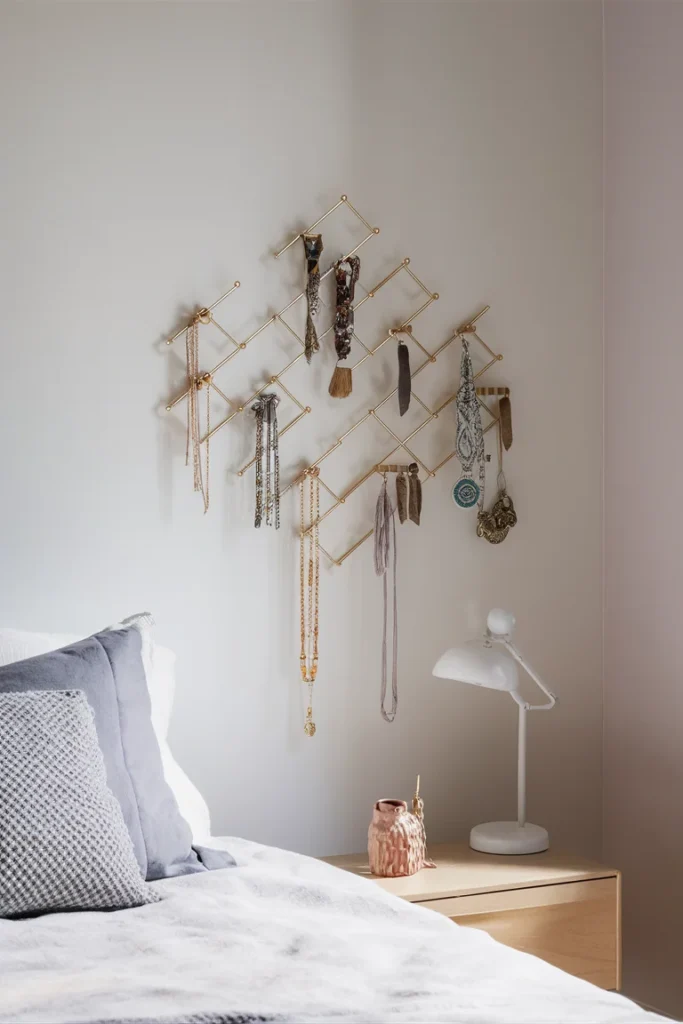
Use your wall as a canvas by hanging necklaces and bracelets directly with decorative push pins or small nails.
Materials Needed: Push pins, thumbtacks, or small hooks; optional corkboard backing.
Simple Steps:
- Mark spots on the wall in a pattern (like a heart or grid).
- Insert pins or hooks.
- Drape jewelry over them.
- Arrange for an artistic look.
4. Tiered Dish Stand

Upcycle thrift store dishes and candlesticks into a stacked organizer for rings, earrings, and small items.
Materials Needed: Ceramic dishes, candlesticks, strong glue (like E6000).
Simple Steps:
- Glue candlesticks between dishes to create tiers.
- Let dry overnight.
- Place on a dresser and sort jewelry by type.
- Stack for vertical storage.
5. Framed Mesh Earring Holder
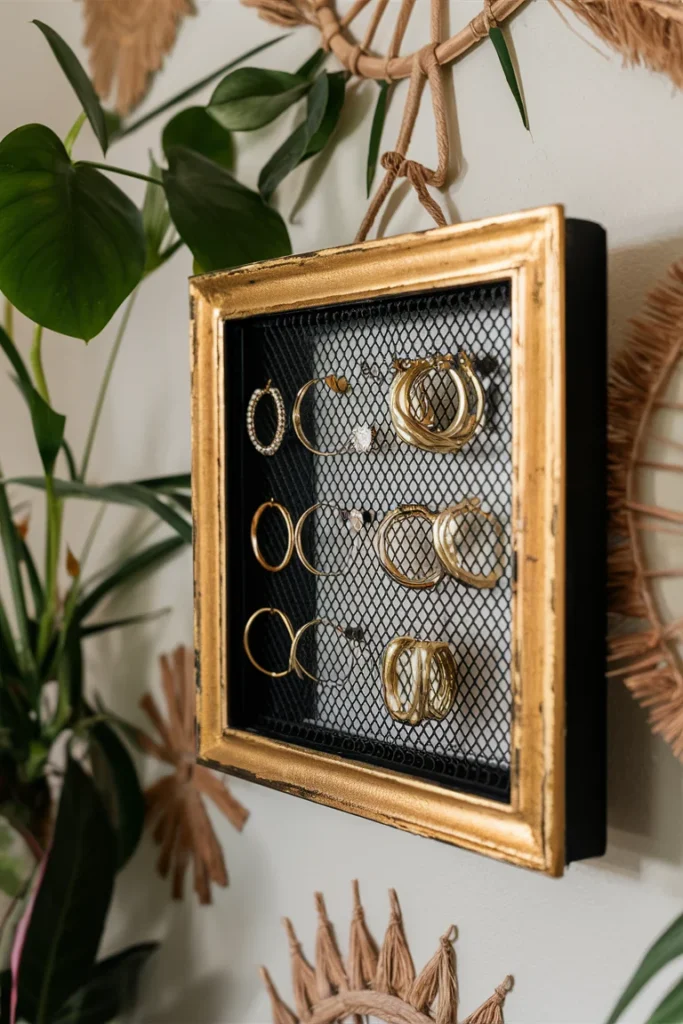
Transform an old picture frame with mesh or chicken wire for a chic earring display.
Materials Needed: Picture frame, chicken wire or mesh, staple gun, paint.
Simple Steps:
- Remove glass from the frame and paint if desired.
- Cut mesh to fit and staple to the back.
- Hang on the wall.
- Poke earrings through the mesh.
6. Macrame Wall Hanger
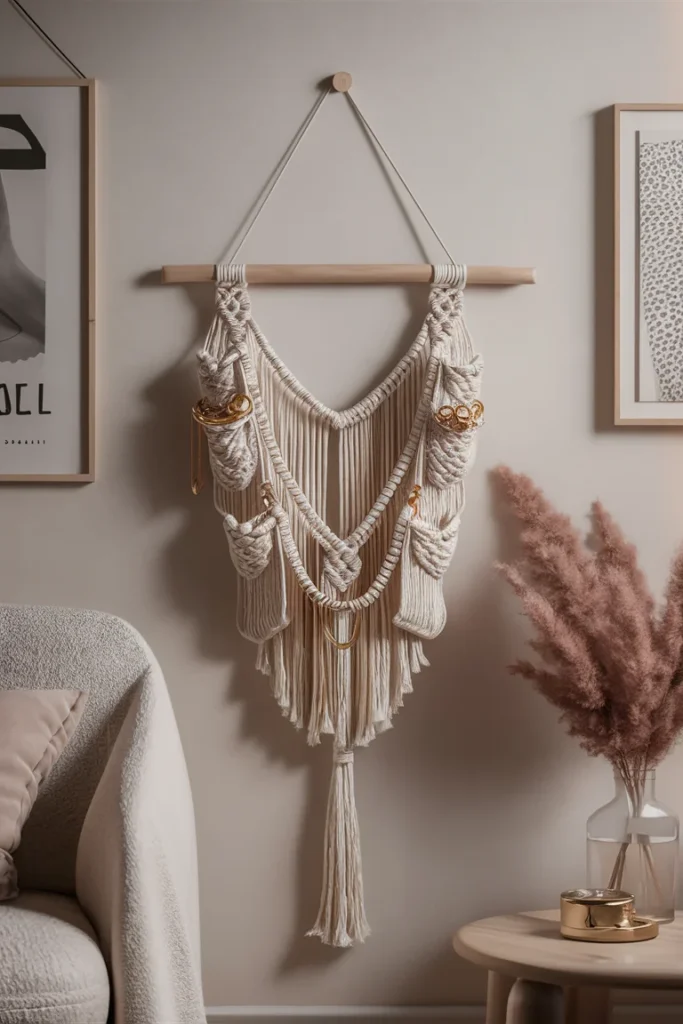
Craft a bohemian macrame hanger with pockets or bars for earrings, necklaces, and watches.
Materials Needed: Macrame cord, wooden dowel, scissors.
Simple Steps:
- Knot cords onto the dowel using basic macrame patterns.
- Create loops or pockets.
- Hang from a hook.
- Thread jewelry through.
7. Branch or Driftwood Tree Stand
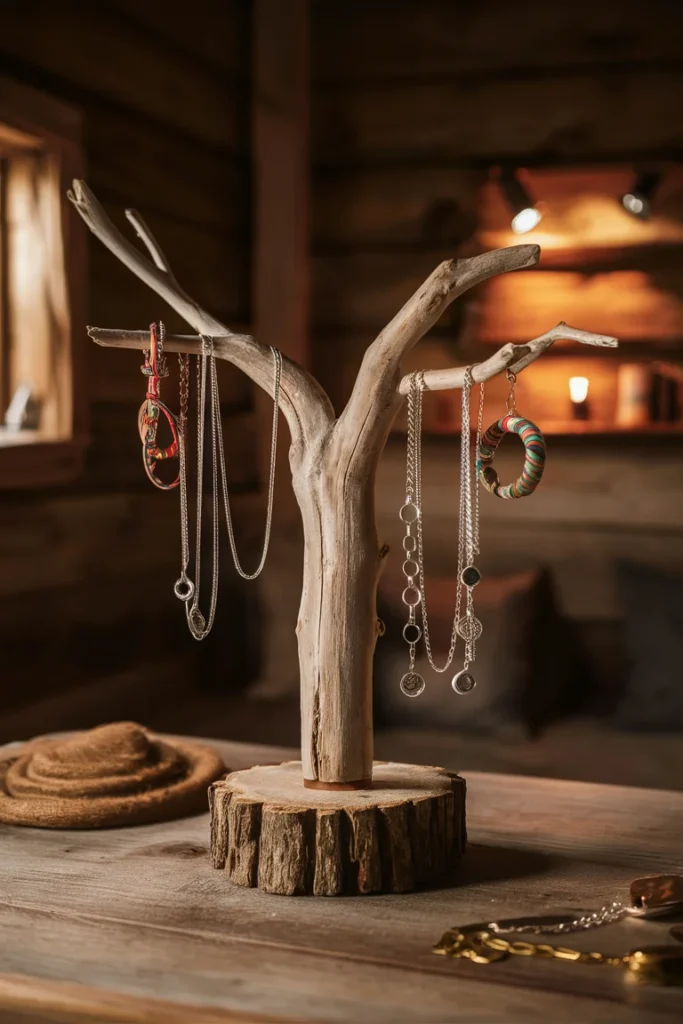
Use a natural branch or driftwood piece as a rustic stand for hanging jewelry.
Materials Needed: Branch or driftwood, base (like a wooden block), drill, hooks.
Simple Steps:
- Drill holes in the base and insert the branch.
- Add small hooks if needed.
- Place on a shelf.
- Hang necklaces and bracelets from branches.
8. Cork Earring Board
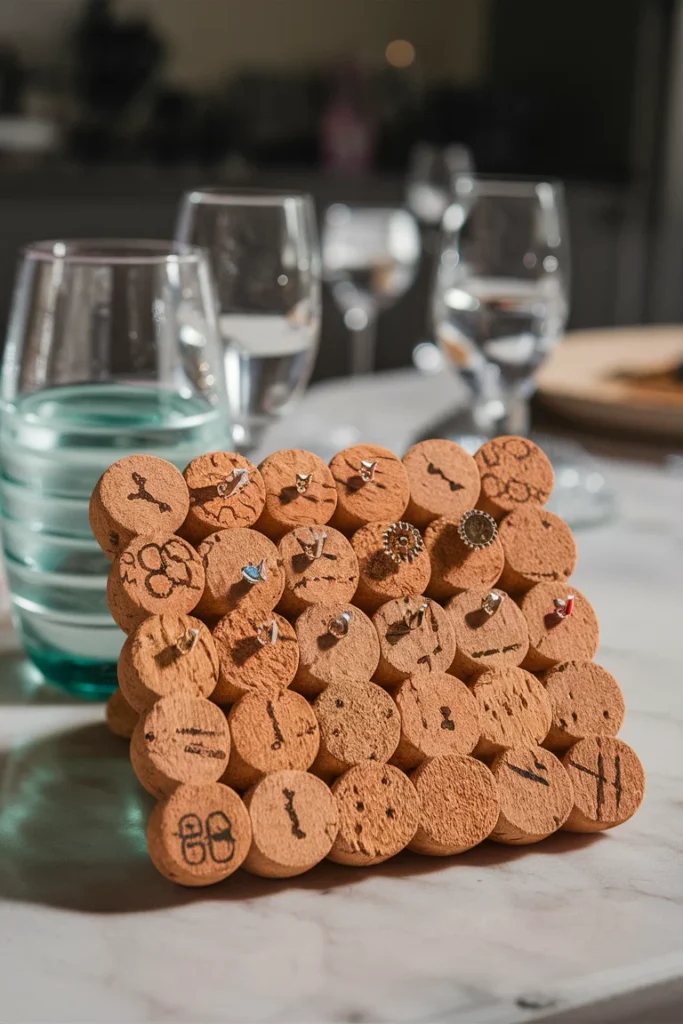
Glue corks together to form a board where earrings can be pushed into the soft cork.
Materials Needed: corks, hot glue, backing board (like cardboard).
Simple Steps:
- Arrange corks in a pattern on the board.
- Glue them down.
- Frame if desired.
- Insert earring posts into corks.
9. Upcycled Hanger Organizer
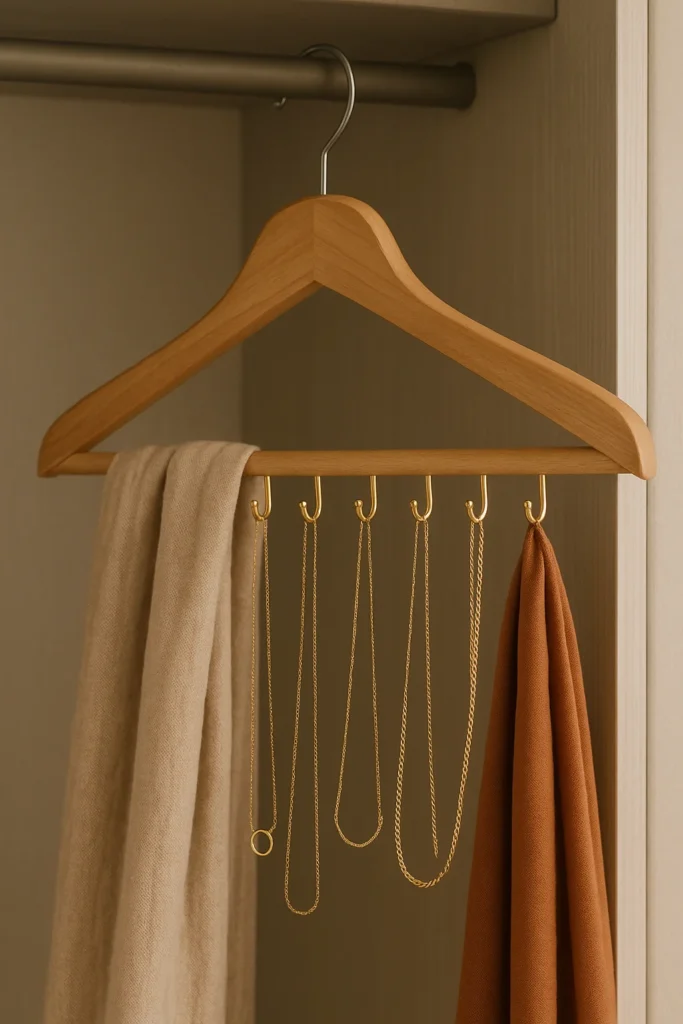
Modify a basic clothes hanger with added hooks for a portable jewelry holder.
Materials Needed: Wooden or plastic hanger, cup hooks, pliers.
Simple Steps:
- Screw or attach hooks along the hanger.
- Paint for style.
- Hang in your closet.
- Loop jewelry on hooks.
10. Silverware Tray Wall Organizer
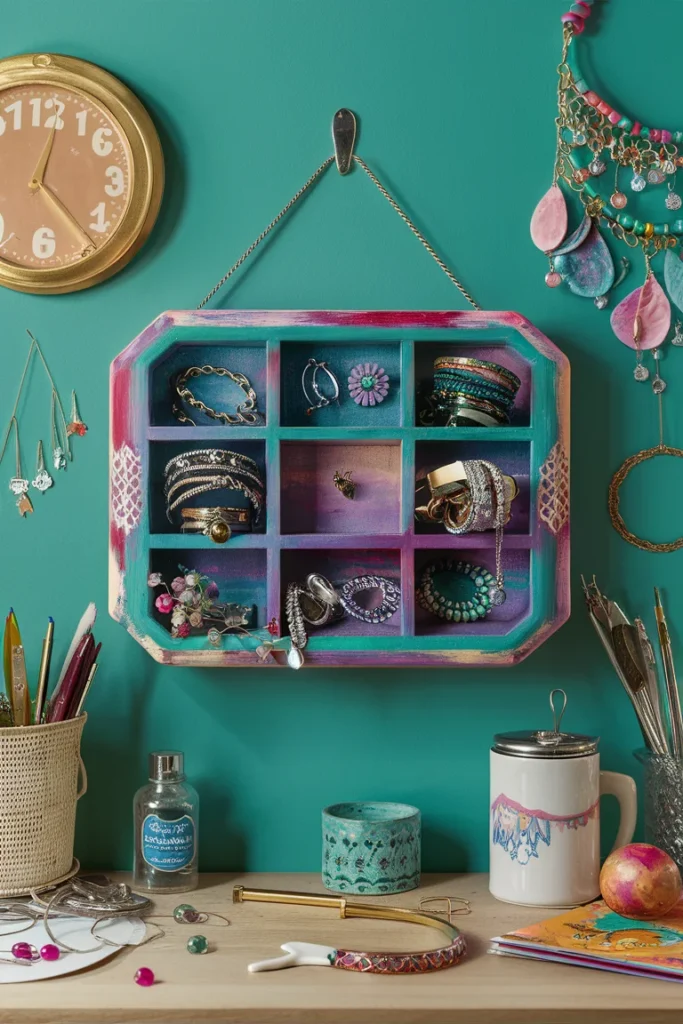
Repurpose a silverware tray as a wall-mounted holder with compartments for different jewelry types.
Materials Needed: Wooden silverware tray, paint, wall hooks.
Simple Steps:
- Paint the tray in your favorite color.
- Add hooks inside compartments.
- Mount on the wall.
- Sort jewelry into sections.
11. Magnetic Jewelry Board
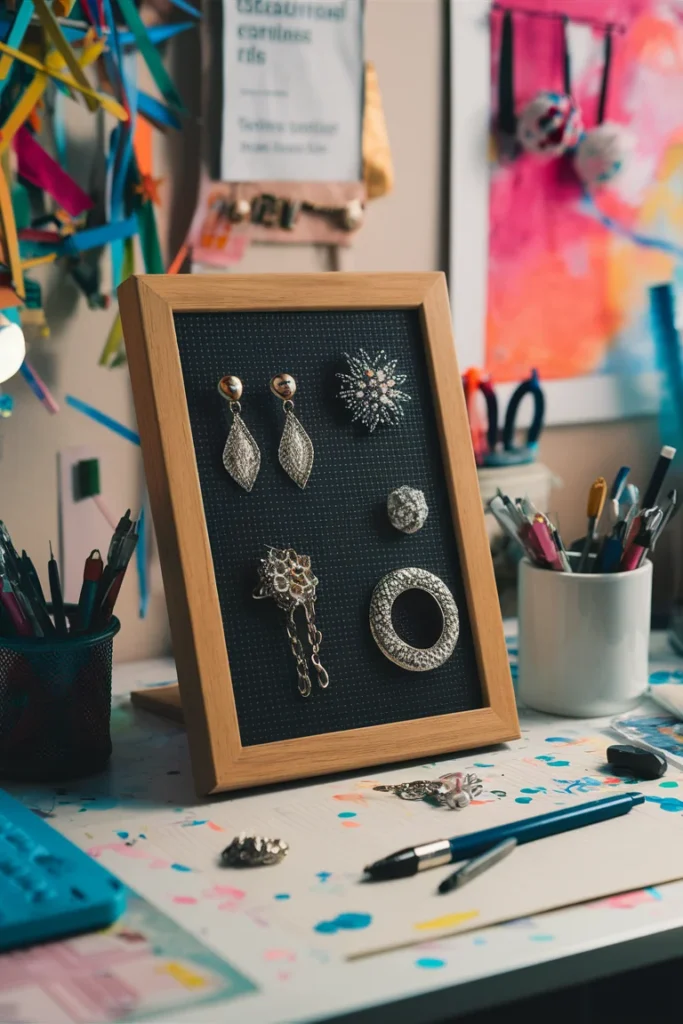
Create a magnetic surface for storing metal jewelry pieces securely.
Materials Needed: Metal sheet or magnetic paint, frame, magnets if needed.
Simple Steps:
- Apply magnetic paint to a board or use a metal sheet.
- Frame it.
- Hang on the wall.
- Attach magnetic-backed jewelry.
12. Pyramid Skewers Stand
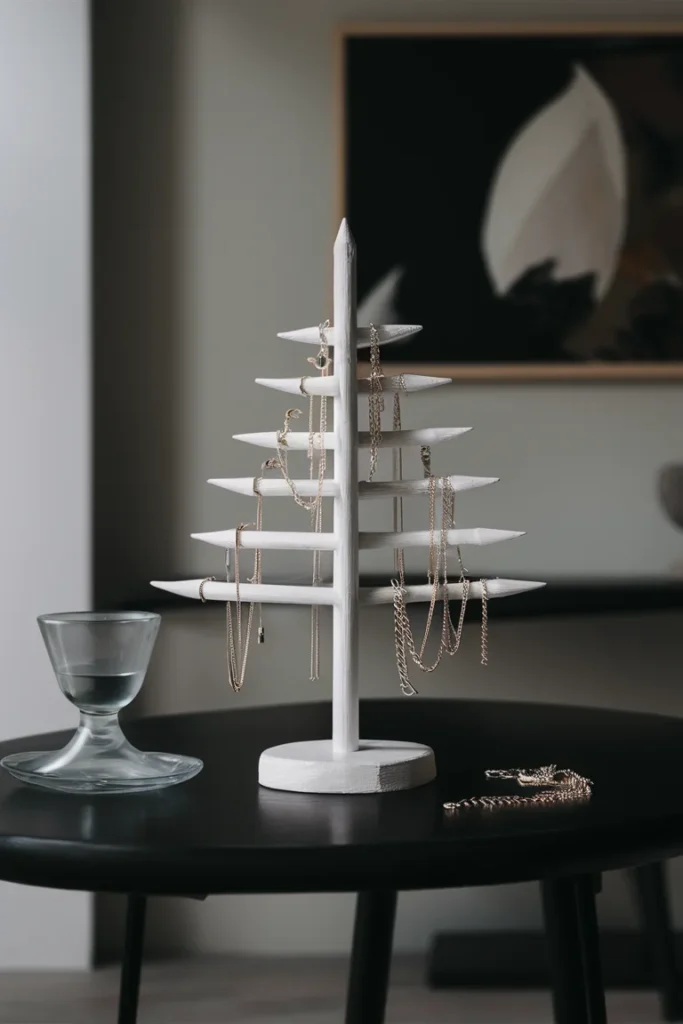
Build a geometric pyramid stand from wooden skewers for a modern display.
Materials Needed: Wooden skewers, hot glue, base.
Simple Steps:
- Glue skewers into a pyramid shape.
- Secure to a base.
- Paint if desired.
- Hang lightweight jewelry from the edges.
13. Crate Cabinet
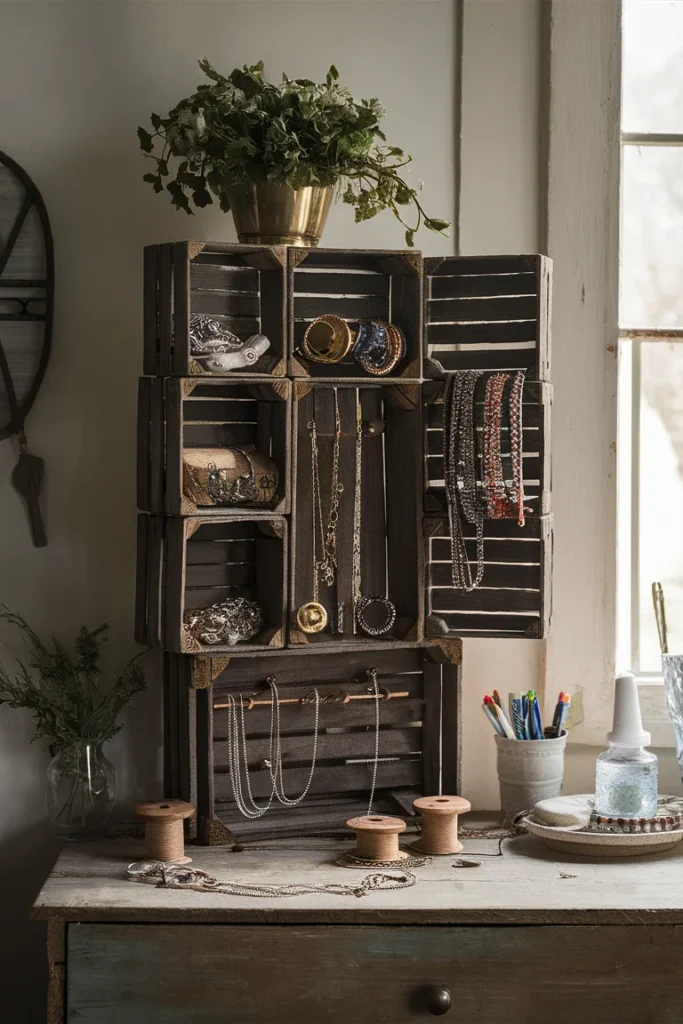
Turn crates into a stacked cabinet with spools and knobs for organized storage.
Materials Needed: Wine crates, wooden spools, cabinet knobs, glue.
Simple Steps:
- Stack and glue crates.
- Add spools as dividers.
- Attach knobs for hanging.
- Place on a shelf or wall.
14. Clay Ring Holder
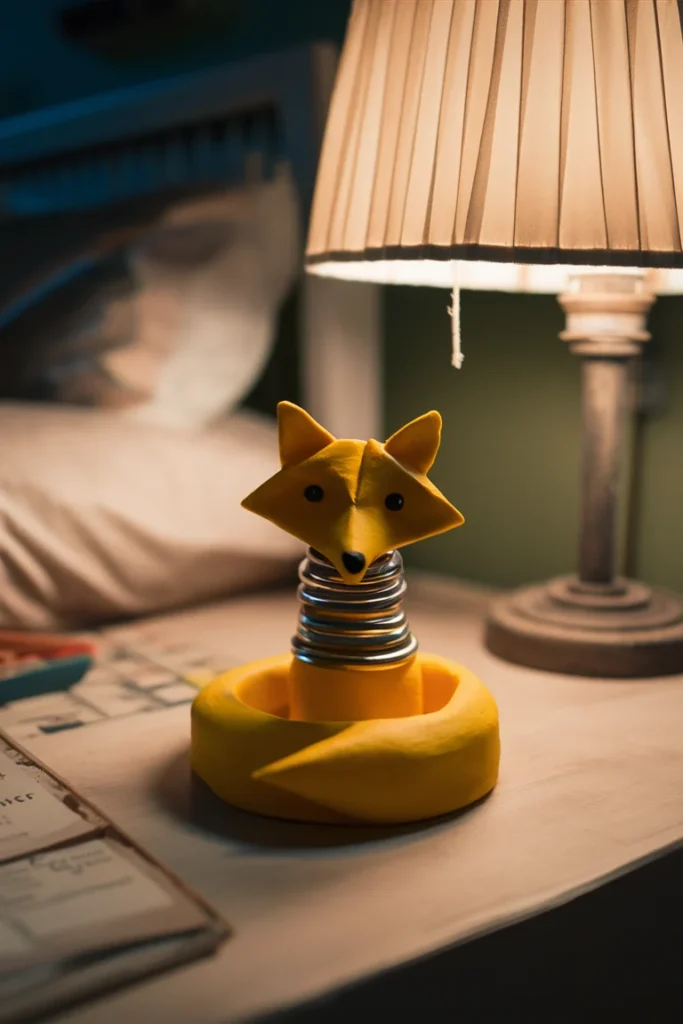
Sculpt a simple clay holder shaped like an animal or geometric form for rings.
Materials Needed: Air-dry clay, paint, varnish.
Simple Steps:
- Mold clay into a shape (e.g., a cone or animal).
- Let dry and paint.
- Varnish for shine.
- Stack rings on it.
15. Burlap Frame Earring Organizer
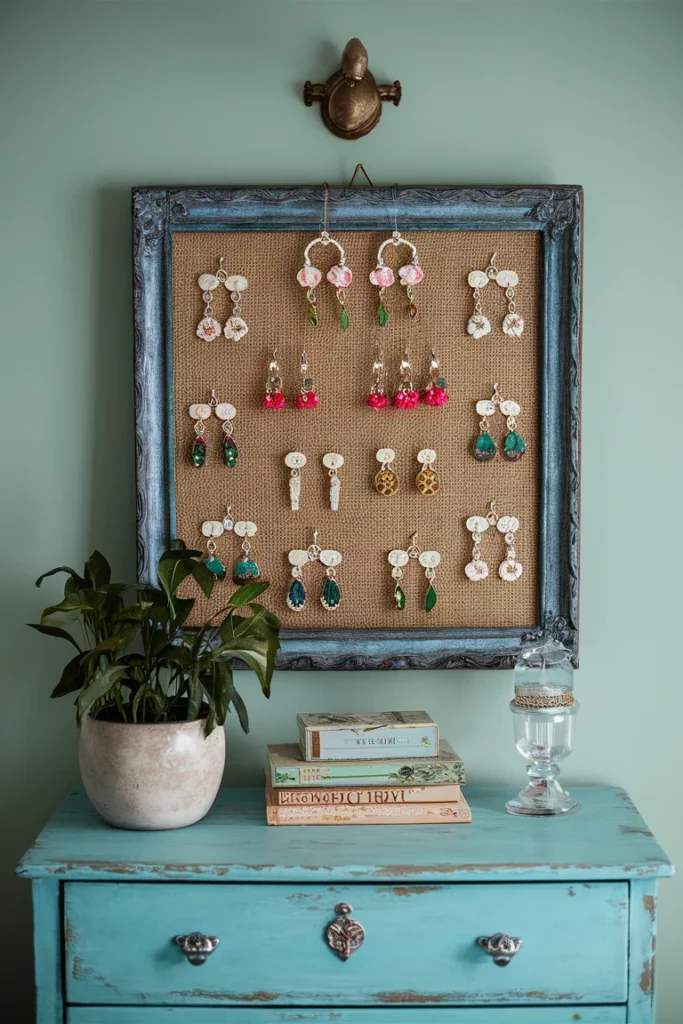
Staple burlap to a frame back for a textured earring holder.
Materials Needed: Picture frame, burlap fabric, staple gun.
Simple Steps:
- Stretch burlap over the frame back.
- Staple securely.
- Decorate the frame.
- Hang and insert earrings.
16. Plywood Necklace Board
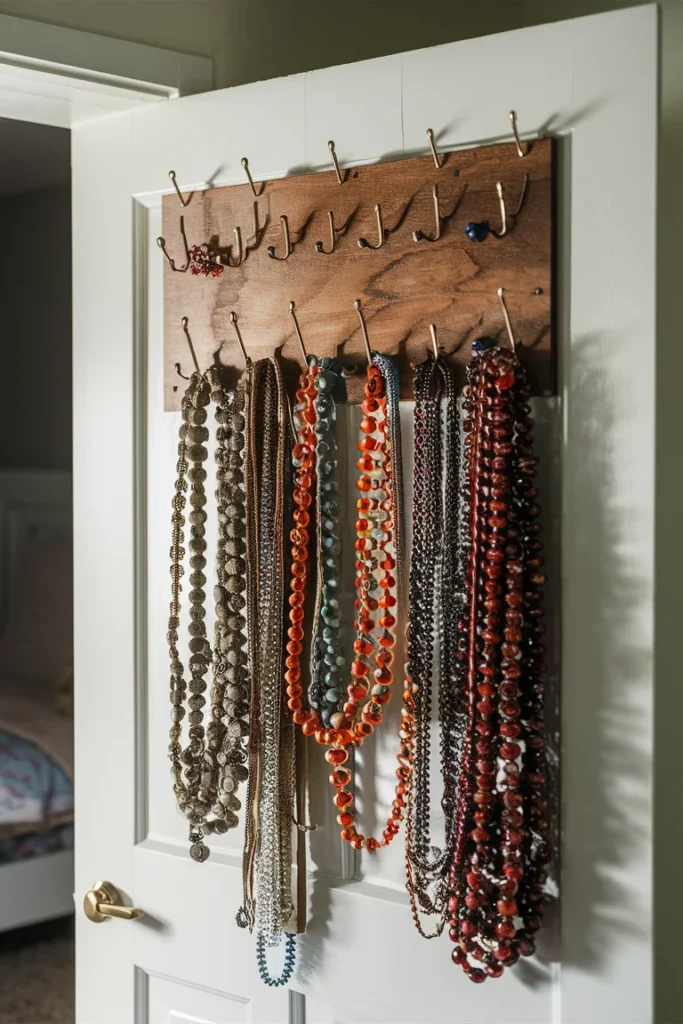
Cut and customize plywood with hooks for a large necklace organizer.
Materials Needed: Plywood, hooks, paint or stain.
Simple Steps:
- Cut plywood to size.
- Stain or paint.
- Add rows of hooks.
- Mount behind a door.
17. Lace Hoop Earring Display
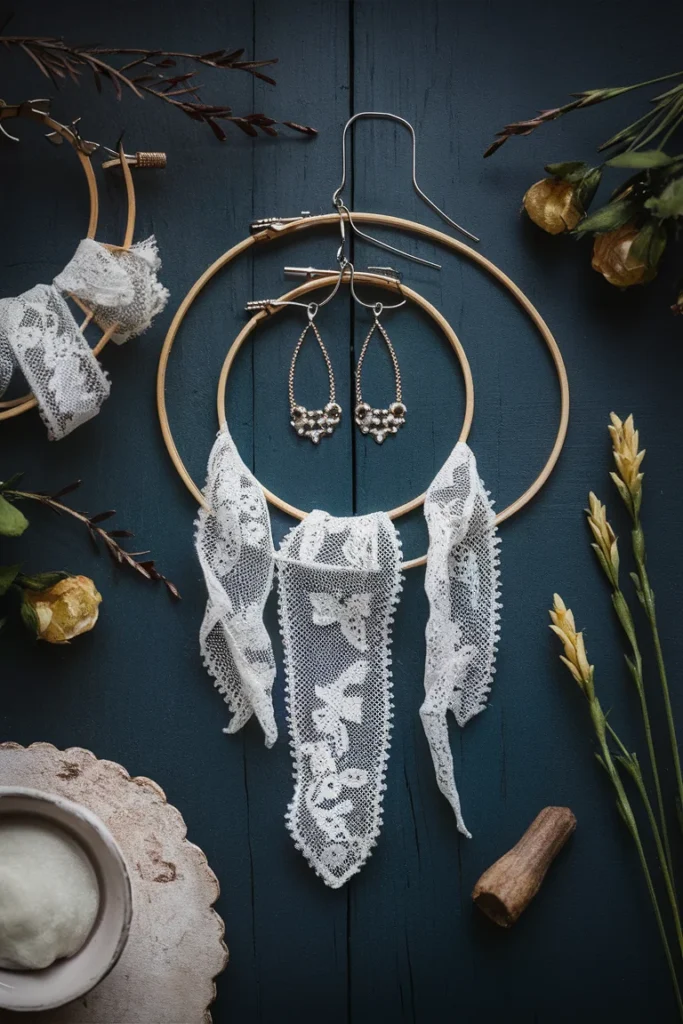
Stretch lace over embroidery hoops for an elegant earring organizer.
Materials Needed: Embroidery hoops, lace fabric, glue.
Simple Steps:
- Secure lace in the hoop.
- Trim excess.
- Hang multiple hoops.
- Thread earrings through lace.
Conclusion
These DIY jewelry storage ideas are not only practical but also add a personal touch to your space. They’re great for small bedrooms, dorm rooms, or even as gifts. Start with one that matches your skill level and materials on hand, and you’ll wonder how you ever lived without it. For more DIY inspiration, check out related projects like custom closet organizers or upcycled home decor.